
Electric Rotary Tool
TPU Print Cleanup: Hand Trimming and Rigid-Part Finishing
TPU print cleanup needs a different approach from rigid PLA. Compare careful hand trimming with rotary-tool limits, preserve flexible features and check the final fit.
Quick Answer
TPU print cleanup needs a hand-first approach because a flexible part can deform while an abrasive is touching it. Inspect the exact filament and geometry, remove loose strings carefully and preserve functional edges. ToolQeen's public H102 information does not establish a TPU sanding method, so this guide does not recommend rotary finishing of TPU. Use the pen only for separately suitable rigid components in a mixed-material project.
Buyer Takeaways
- Flexible TPU should not inherit a rotary-cleanup recipe from rigid PLA or PETG.
- Distinguish a harmless string from a connected strand, a notch or a structural seam.
- Judge a flexible part in its relaxed shape and in the intended assembly.
- For mixed-material projects, finish rigid components separately before fitting the TPU piece.
Why flexibility changes the finishing decision
A rigid model usually offers a relatively stable surface to an abrasive. A flexible sleeve or bumper can move away from contact, compress in a fixture and return toward the tool. That makes the location and depth of removal less predictable. Trying to hold it more tightly can change its shape instead of solving the problem. This is a reason to reconsider the method, not simply to choose a lower tool setting.
TPU is also a family of materials with differing grades and hardnesses. Consult the actual filament maker's guidance and safety information. Prusa's flexible-material overview describes characteristics that distinguish flexibles from rigid prints, but it is not an H102 accessory approval. A successful-looking clip from another tool, filament or geometry does not establish a supported procedure for your own part. Keep that distinction clear before choosing equipment.
Classify the defect while the part is relaxed
Let the print cool, remove it from the build surface according to the printer's guidance, and inspect it without stretching it. Look for fine strings, attached support remnants, layer damage and missing edges. Rotate the part so lighting reveals both the surface and the point where each strand connects. A strand may be a loose printing artifact, but it may also continue into a thin feature that you need to preserve.
A flexible printed sleeve that looks rough can still fit correctly. A neat-looking sleeve with a notch at a loaded edge may be unsuitable. Decide what the component must do: slide onto a rigid support, cushion a display model or sit in a recess. This article does not validate seals, protective equipment, body-contact products or loaded flexible mechanisms. Those uses require their own material and design assessment.
Technical Explanation
Inspect flexible parts in their relaxed shape
Flexible material can change shape during both finishing and inspection. A dimension measured while it is squeezed or stretched may not describe the relaxed part that goes into service. This is why the sequence matters: inspect relaxed, trim only identifiable excess, release all restraint and then assess assembly. The recommendation to avoid an unverified H102 TPU procedure reflects the available product evidence, not a claim that every rotary process for every flexible polymer is impossible.
Buyer Comparison
Match the method to the component
| Component or task | Starting approach | Limit to remember |
|---|---|---|
| Loose TPU strings | Suitable controlled hand trimming | Do not tear a strand through useful material. |
| TPU surface abrasion | Consult the exact material guidance | No H102 TPU sanding method is established here. |
| Raised burr on a separate rigid frame | Assess local hand or supported rotary cleanup | Remove the TPU component before powered work. |
Remove strings with a suitable hand method
Use a hand tool intended for the material and type of cut, following its instructions. Support the part in a stable arrangement that keeps your fingers out of the cutting path. Trim a clearly identified unwanted strand close to its attachment without drawing the blade or cutter through the useful wall. Work in small, visible areas. Wear eye protection where clipped pieces could be ejected, and keep the bench clear so you can see the cut.
Do not pull on a stubborn strand until it tears away. Stretching can hide the attachment point and transfer force into an edge. Stop when you cannot distinguish the artifact from the part. Likewise, do not use a flame, an uncontrolled hot tool or the rotary pen to make strings disappear. A cosmetic shortcut can alter a thin feature, and this guide does not establish a supported thermal-finishing procedure.
Compare hand abrasion with the rotary option
Hand abrasion may also be unsatisfactory on some flexible prints. The surface can move under the abrasive, and removing material from a flexible edge can change fit. Test any manufacturer-supported hand method on comparable scrap and inspect the relaxed result. If the finish becomes ragged or the feature no longer matches its intended shape, stop. There is no requirement to sand TPU simply because you normally sand rigid models.
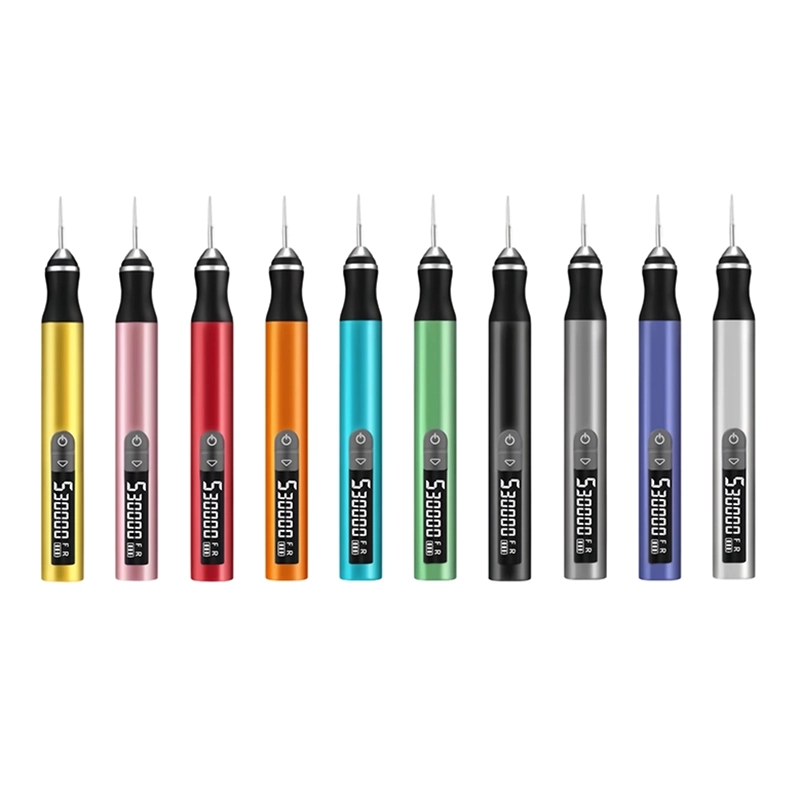
The H102 lists plastic craft work among its general applications, but that broad label is not enough to recommend a powered TPU process. Its five adjustable gears, digital screen and pen body do not overcome the missing material-and-attachment evidence. This article therefore does not provide a TPU RPM, abrasive recommendation or rotary pass sequence. Choose a conservative hand method or improve the print when you cannot verify an appropriate process.
Use the H102 on the rigid partner where appropriate
A mixed assembly can still contain a useful rotary task. For example, a rigid FDM frame may have an exposed raised remnant that snags a removable TPU sleeve. Remove the sleeve and inspect the frame separately. If the excess is clearly outside the intended contact geometry, a confirmed plastic-suitable attachment may allow local cleanup on the securely held rigid part. Keep the TPU away from the powered operation and from collected debris.
Check the attachment's instructions and fit with the H102's 2.35 mm chuck. Test the rigid material on scrap, use light, brief contact where supported, and stop if it smears or the frame changes shape. Hand-finish the transition, clean the component and release it from the fixture. The goal is to remove the frame's unwanted burr, not to enlarge its whole perimeter until an incorrectly sized sleeve can be stretched over it.
Check the result without forcing the assembly
Inspect the TPU in its relaxed shape after trimming. Look for newly cut notches, thin spots and damage where strands were removed. Place it on the clean mating component according to the intended assembly method. Check that it sits correctly without abnormal stretching, bunching or trapped debris. A piece that can be forced into place is not necessarily the correct fit.
If painting or bonding is part of the project, use products whose manufacturers support the specific flexible material and intended movement. A coating that works on a rigid PLA model may not remain suitable on a flexible part. Allow any specified preparation or cure steps before assembly. Do not improvise a solvent wipe to improve the appearance or use adhesive to compensate for a damaged functional edge.
Reduce the need for cleanup on the next print
When strings or support marks dominate the part, revisit the printing process. Follow the filament maker's drying, handling and print-profile guidance, and assess whether the model orientation creates avoidable support contact. Make a representative test rather than repeatedly altering a finished sleeve. Change one relevant factor at a time so you can tell whether the result improved.
A part with a thin removable support connection can be harder to clean than one designed with accessible, deliberate cleanup areas. Consider that during modeling. Keep an untouched acceptable print as an appearance and fit reference if you are making several copies. Record whether the problem arose during printing, support removal or final assembly. That provides a better basis for improvement than treating every surface issue as a request for more aggressive sanding.
Frequently Asked Questions
Frequently Asked Questions
Does setting the H102 to its lowest gear make TPU sanding safe?
No such guarantee is supported. Flexing, snagging, geometry and attachment suitability still matter. The public H102 specifications do not establish a TPU sanding method, so this guide recommends a different approach.
Can I trim strings while stretching the part?
Stretching can change the position of the strand and hide how it joins the useful wall. Prefer a stable, relaxed arrangement that keeps the cut visible. Follow the hand tool's instructions and stop if you cannot identify the excess confidently.
Is all flexible filament the same as TPU?
No. Flexible printing materials include different polymer families and grades. Use the exact product documentation rather than transferring advice from a generic flexible-filament label or a different hardness.
What if the rigid frame damages the TPU during fitting?
Remove and inspect both parts. A genuine raised burr on the frame may need separate cleanup, while an incorrect fit or damaged TPU edge calls for another solution. Do not keep forcing the assembly to see whether it wears itself in.
Can I paint a TPU part after trimming?
Only use a coating system suited to that material and the intended flexing. Test a representative piece and follow the manufacturer's preparation and cure guidance. Surface neatness alone does not establish coating compatibility.
Final Buyer Recommendation