
Rotary Tool and 3D Print Finishing
Thin-Wall 3D Print Cleanup: When a Rotary Pen Is Too Much
Plan thin-wall 3D print cleanup around wall thickness, support and access. Learn when a mini rotary tool can trim a robust feature and when to leave the shell alone.
Quick Answer
Thin-wall 3D print cleanup should begin with the wall structure, not a lower speed setting. A light shell may have almost no material available to remove. Use a rotary pen only on a clearly thicker, well-supported feature with a confirmed accessory and a successful scrap trial. Prefer careful hand work or no removal on flexible walls, fine fins and single-perimeter vase surfaces.
Buyer Takeaways
- Lower tool speed does not make an unknown wall thickness safe to sand.
- Distinguish a thick rim or mounting pad from the adjacent lightweight shell.
- Workholding must support the part without changing its shape.
- Stop at deflection, cracking, smearing or the first sign of breakthrough.
Read the shell before choosing a finishing tool
A printed object can have a thick base, a narrow rim and a very thin sidewall within a few centimeters of one another. Its outside appearance does not reveal how much plastic lies below every surface. Inspect the CAD model and sliced preview to identify perimeters, top or bottom layers and any local reinforcement.
Prusa's layers-and-perimeters documentation describes spiral vase mode as a continuous single-outline construction. That matters for finishing: a vase-mode wall is not a solid block waiting to be smoothed. Removing its layer texture may remove a substantial part of the wall itself.
For an unfamiliar file, do not estimate a safe sanding depth from color or translucency alone. If you cannot establish that the target has sufficient material, choose a less invasive method or leave the cosmetic mark. A small support scar may be preferable to a hole or a weakened shell.
Separate robust features from fragile surfaces
A reinforced mounting pad may tolerate local cleanup even when the neighboring wall cannot. Likewise, an isolated nub on a thick base can be a reasonable target while a thin top lip remains unsuitable. Treat the print as several different finishing zones rather than assigning one method to the whole object.
Thin fins, projecting corners and narrow necks need extra caution because the workpiece itself can deflect. If the surface moves away from a hand tool, a rotating accessory may catch or remove material unevenly. Stabilizing the body does not automatically stabilize every projecting feature.
A recessed pit is especially important here. Grinding the surrounding wall to match its depth sacrifices more thickness. For a painted decorative shell, a compatible cosmetic filling system may be considered; it does not automatically restore structural strength or seal a container for liquid use.
Technical Explanation
Thickness limits the finishing allowance
Abrasive contact changes thickness as well as texture. On a solid feature, that change may be small relative to the remaining section; on a single-wall feature, the same removal may be substantial. Workholding, speed and a small accessory can improve control, but none of them creates missing material or a guaranteed safe depth.
Choose the least removal that solves the problem
Use a suitable hand tool for a small accessible burr when its contact can be controlled. Support abrasive paper with a shape that follows the intended surface, and keep pressure low enough that the shell does not visibly change shape. Even hand sanding can break through a thin print.
Reserve rotary work for an identifiable raised defect on a verified robust feature with clear access. Do not use it to chase every layer line on a lightweight wall. If the defect is merely visible under close inspection and does not interfere with use, leaving it can be the best finishing decision.
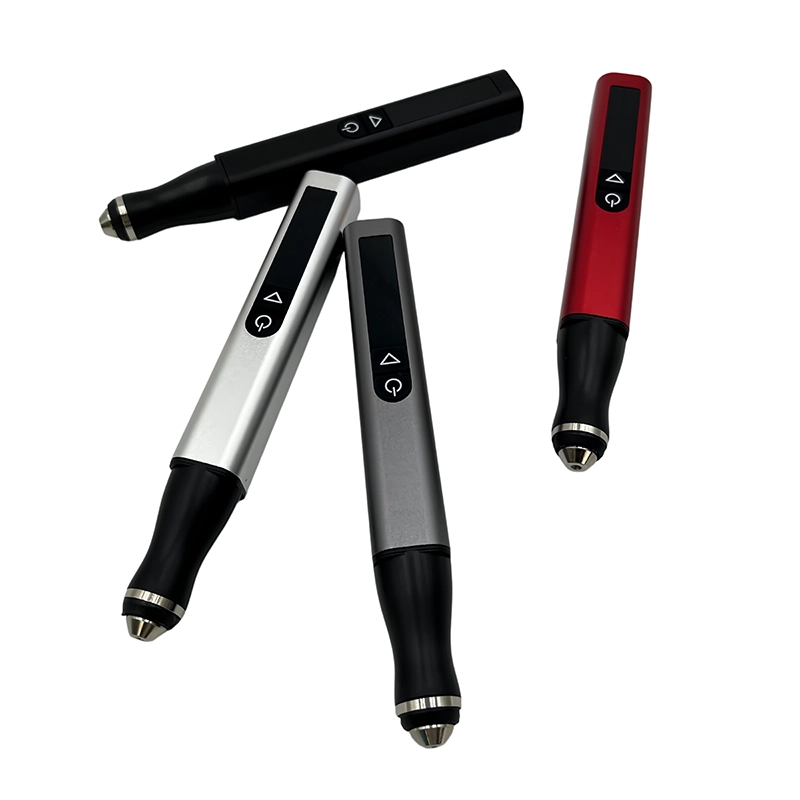
ToolQeen's H102 offers five adjustable gears, but its public specification does not give a minimum RPM or a validated thin-wall operating chart. Its compact body can assist positioning; it cannot provide a depth stop or protect an unsupported shell from the consequences of material removal.
Support the part without pretending it is solid
Use broad padded support on sound areas of the body. Avoid clamping a hollow wall between small hard contact points or tightening until the part becomes oval. Check the shape before and after securing it. If the fixture changes the geometry, any fit check made while clamped will be misleading.
Remove large support waste with suitable hand tools while supporting nearby structure. Wear eye protection and arrange dust collection suited to the material. Keep hands and loose items away from the tool's rotating parts. Stop if support removal reveals splitting between layers.
Test on a representative spare section with similar wall thickness, not only on a thick offcut. Fit the approved accessory with the tool off and follow the mounting instructions. A successful result on a thick test block does not establish that the same contact is appropriate on a flexible shell.
Make local corrections with frequent inspection
On a suitable thick feature, reduce the protrusion incrementally. Keep the transition to the thin wall visible and stay clear of it. With a confirmed rotary accessory, use brief, light contact, then stop to inspect. Finish the remaining transition by hand if it gives better control.
Watch the part as well as the tool. Deflection, a change in sound, visible whitening, a smeared surface or exposed internal structure are reasons to stop. Do not assume that pressing harder will overcome a low setting or a loaded abrasive. Reassess the accessory and the entire method.
PLA can soften with frictional heating, and a thin section has little margin for accidental damage. PETG, flexible filaments and filled materials need their own assessment rather than a copied PLA procedure. Keep powered cleanup dry unless the exact tool has explicit approval for a different method.
Check the shell before painting or assembly
Release the fixture and inspect the part in its natural shape. Check the target and the surrounding wall under angled light. Look for a new depression, a crack, an opening or an altered rim. Compare any mating surfaces with the other component only after cleaning away dust.
For a decorative piece that will be painted, test the filler and coating system on representative scrap and follow the supplier's instructions. Coatings can conceal surface texture, but they should not be treated as proof that a damaged shell is sound. Do not keep sanding until a cosmetic defect becomes a structural one.
For parts with mounting points, inspect those points separately. A local cosmetic repair on a sidewall is different from damage around a fastener or load-carrying tab. If the intended function depends on the damaged region, revise or reprint rather than relying on an unverified patch.
Use the failed trial to improve the next part
If there is no practical finishing allowance, change the next print intentionally. Consider moving supports, adding local thickness where cleanup is required, changing orientation or accepting the printed texture as part of the design. Check the resulting sliced structure rather than only the external model.
Do not increase infill and assume that a thin outer wall is now safe to abrade. The relevant question is the material immediately beneath the contact point. A stronger interior elsewhere does not create extra surface thickness at a delicate lip.
Common mistakes include supporting only the base of a tall shell, clamping a distorted shape, and treating the lowest gear as automatic protection. A useful finishing limit is simple: remove only an identified excess from a known robust area, and stop before the intended wall becomes the target.
Frequently Asked Questions
Frequently Asked Questions
Can I rotary-sand a vase-mode print until the lines disappear?
That is not recommended here. The wall may consist of a single printed outline. Removing the layer texture can weaken it or break through. Consider preserving the surface or redesigning a thicker part for a different finish.
Does the lowest H102 gear make a delicate wall safe?
No. The published information does not establish a universal minimum-speed procedure for thin walls. Thickness, support, accessory geometry and contact all matter. If those are unsuitable, a lower setting does not solve the problem.
Is hand sanding always safe on a thin print?
No. It is often easier to control locally, but it still removes plastic and can flex the wall. Use an appropriate support, inspect frequently and stop if the part distorts or the remaining thickness is uncertain.
Can primer repair a sanding breakthrough?
Primer should not be treated as a structural repair. A decorative hole may need a compatible repair system, while a functional or extensively damaged shell may need reprinting. Assess the part before covering the damage.
What sample should I use to evaluate an accessory?
Use the same filament and a similar printed wall or reinforced feature. Match the access and support conditions as closely as practical. A test on thick solid plastic cannot prove a method for a thin curved shell.
Final Buyer Recommendation