
Rotary Tool and 3D Print Finishing
Finishing 3D Printed Cosplay Props with a Mini Rotary Tool
A guide to finishing 3D printed cosplay props: combine controlled rotary cleanup, hand sanding, seam planning and paint preparation while preserving fit.
Quick Answer
Finishing 3D printed cosplay props works best when each area has a specific job: local cleanup for raised defects, supported hand sanding for broad surfaces, and compatible filler for cosmetic gaps. A mini rotary tool can help around accessible support nubs and robust detail boundaries. It is not a whole-helmet smoothing method or a repair for weak printed shells.
Buyer Takeaways
- Plan assembly and paint access before sanding individual pieces.
- Keep broad surfaces, fragile details and fitting edges separate.
- Use powered contact only on a clearly defined raised defect.
- Check comfort, clearances and attachment points after cleanup.
Plan the finish before touching the shell
A helmet, armor panel or decorative prop often combines broad curved surfaces with narrow trim, recesses and joining edges. Those areas should not receive the same treatment. Start by deciding which parts will be assembled permanently, which remain removable and which must be painted separately for access.
Dry-fit the major pieces and compare the assembled outline with the model. Look for support remnants that prevent seating, warped edges and misaligned seams. Finishing a panel beautifully before discovering that it does not fit the next one creates avoidable rework.
This guide concerns rigid, unfilled FDM display and costume parts. A printed costume shell is not certified protective equipment. Foam, flexible filament, fiber-filled materials and resin coatings need separate finishing instructions. Keep the actual filament and any later filler or paint identified throughout the project so that one material's procedure is not applied to another.
Divide the prop into practical work areas
Mark broad outer faces as hand-sanding zones. Their shape is easier to preserve with an appropriate backing than with repeated small powered contacts. Treat raised trim, lettering and narrow ridges as protected features. Keep mating lips, attachment points and removable-panel edges distinct from purely cosmetic areas.
A mini rotary tool may help with an isolated support nub on a substantial wall or an accessible inside curve. It must reach the defect without the chuck or another part of the head touching adjacent detail. Check that approach with the tool switched off before choosing it for the job.
An inside corner that cannot be seen clearly is not a good candidate for blind grinding. Use a suitably shaped hand tool, revise the assembly order or accept a harmless hidden cosmetic mark. Decide whether the visible result justifies removal: polishing an inaccessible interior at the expense of wall thickness rarely improves the finished prop.
Technical Explanation
What changes during cleanup
Large props magnify small changes in curvature. A locally smooth patch may catch light differently because its shape changed. Check the complete panel under side lighting between finishing stages, and preserve fit surfaces separately from the exterior cosmetic finish.
Remove support while the part is well supported
Wear eye protection for clipping and separate large support structures into small sections. Support the prop near the attachment without pressing on thin edges. Do not twist a large branch against a shell or pull a support sheet away so forcefully that it tears out the surface beneath it.
Inspect each area as it becomes accessible. A raised nub can be reduced later; a pit needs an addition or acceptance decision. Stop if the shell cracks or layers separate. A coating may hide the damage visually, but it does not establish that the part will survive handling or costume movement.
Secure the part in a padded cradle or fixture on a robust area for abrasive work. Reposition it instead of reaching around a bulky shell with the contact point hidden. Arrange suitable fine-dust extraction and material-appropriate respiratory protection. Keep hair, sleeves, straps and costume fabric away from rotating tools and the abrasive work area.
Test local cleanup before committing to a visible face
Choose scrap from the same spool with similar wall thickness and a comparable support mark. With power off and charging disconnected, inspect the accessory and confirm shank fit, mounting, plastic suitability and speed limits. Use only a setting permitted by both tool and accessory instructions.
Apply brief, light contact to the raised scrap feature, then stop and inspect the cooled surface. Judge the outline as well as the texture. A smooth depression is still a failed trial if the original curve has been lost. Smearing, wobble, chatter or a flexing shell calls for a change of setup or a hand method.
On the prop, work on one identified high spot at a time. Lift away often and finish the last trace by hand. PLA needs restraint around frictional heat; PETG is a separate trial, not permission to use a higher setting. Do not add water to a cordless pen based on guidance for hand wet sanding.
Build the surface in the right order
After local cleanup, resolve assembly and seam alignment according to the adhesive instructions. Let joints reach the specified condition before finishing them. A step caused by misalignment should not be treated as permission to grind away a large part of one shell.
For cosmetic gaps and shallow low spots, select a filler compatible with the filament and coating. Follow its application, ventilation and curing guidance, then refine it with the recommended hand abrasives. Broad printed texture may need a combination of supported sanding and compatible surface preparation rather than aggressive local grinding.
Prusa's postprocessing walkthrough is useful for understanding the relationship between assembly, filling, sanding and painting. Its particular tools and materials are not H102 operating instructions. Choose each added material from its own documentation, and do not assume that a rotary accessory suitable for printed plastic also supports cured resin, filler or a painted finish.
Check details, fit and wearing surfaces before paint
Clean the part and inspect under side lighting. Look for a flat patch on a curve, a trough beside a seam and softened raised detail. Examine corners and recesses for trapped dust. A clean surface makes it easier to distinguish a real defect from loose debris.
Dry-fit removable sections and check attachment locations before applying coatings. Preserve clearance where a visor, insert or neighboring panel will sit. Follow the coating maker's surface preparation and application instructions, including permitted rework stages. Trial the finish on a representative spare piece instead of assuming it will hide the remaining layer texture.
For costume contact areas, check for unintended sharp remnants and plan the lining or edge treatment required by the costume design. Do not thin an edge excessively to make it feel softer. Recheck fit and movement after finishing. A visually smooth exterior is only one part of a usable prop; intact attachment areas and appropriate clearances still matter.
Select the H102 for focused work within the kit
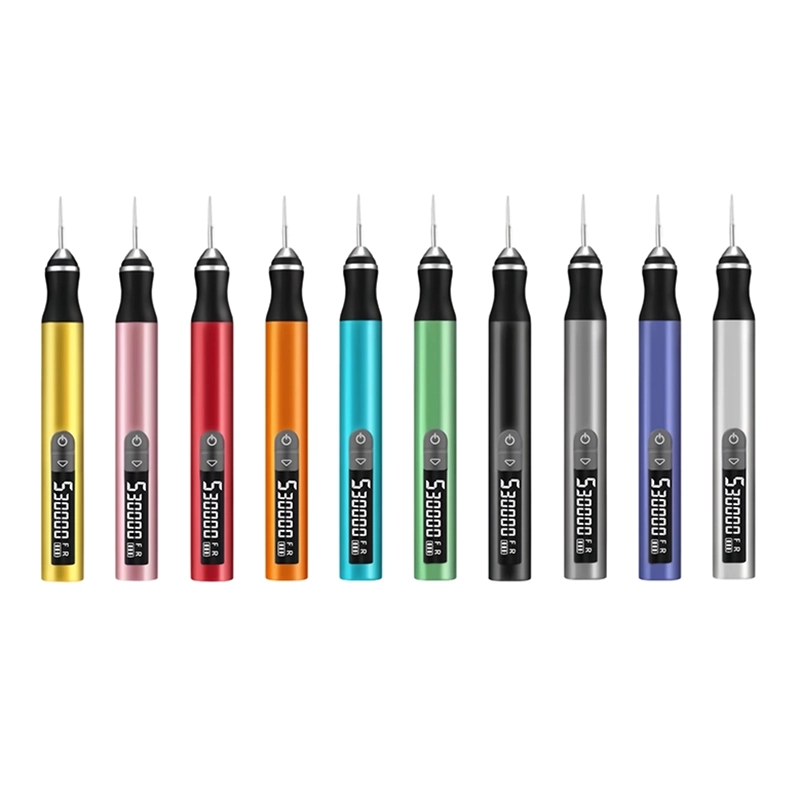
The ToolQeen H102 has a listed 59 g pen-shaped body, five adjustable gears and a digital screen. These features are relevant to positioning a head beside a visible support remnant and identifying the same approved setting during a trial. The product page lists plastic carving and model making among its uses.
It also lists a 2.35 mm chuck and 30 accessories. Ask which specific head, shape and abrasive is suitable for your filament and access requirements. The accessory count does not establish a complete cosplay finishing kit, and the page does not publish a filament-specific speed chart.
The listed 30,000 RPM maximum is not a recommendation for a thin costume shell; minimum and individual gear values are unspecified. Confirm the supported setup and single-unit or sample availability through the product inquiry route. Budget space for hand abrasives, suitable fixtures and the coating system as well as the rotary pen.
Frequently Asked Questions
Frequently Asked Questions
Can a mini rotary tool smooth an entire helmet?
It is better treated as a local cleanup tool. Repeated small contacts across a large shell can create uneven geometry. Use supported hand methods and a compatible finishing system for broad surfaces, with frequent shape checks.
Should I glue every part before painting?
No. Assembly order depends on access, color boundaries, joints and removable components. Dry-fit first and plan which seams must disappear. Follow the adhesive and coating instructions for the chosen sequence.
Can I grind away a deep support scar?
A recessed scar is missing material. Removing the surrounding shell down to its depth can weaken or distort it. Consider compatible cosmetic filler on a sound wall, or reprint if the damage is substantial.
Does a smooth shell count as protective headgear?
No. Cosmetic finishing does not establish impact protection or any certification. Treat a printed cosplay shell according to its intended costume role and use appropriate certified equipment wherever protection is required.
What should I check after the paint has dried?
Inspect removable-panel clearance, attachment points, contact edges and any areas that move during use. Coating can change clearance or reveal residual defects. Follow the coating's cure instructions before assembly and handling.
Final Buyer Recommendation