
Rotary Tool and 3D Print Finishing
Finishing 3D Printed Snap Fits: Remove Burrs, Keep the Latch
Finish 3D printed snap fits by identifying unwanted burrs, protecting flexible arms and checking retention. Use a rotary pen only on suitable rigid areas.
Quick Answer
Finishing 3D printed snap fits means removing unwanted print defects while preserving the spring arm, hook and retaining shoulder. First locate the interference with a gentle dry fit. Use a hand tool near flexible features; reserve a mini rotary tool for a visible burr on a well-supported rigid area. Stop if the latch cracks, whitens, loses engagement or needs substantial reshaping to close.
Buyer Takeaways
- A latch that closes after grinding is not necessarily a latch that still holds.
- Keep the flexible arm, its root and the retaining shoulder intact.
- Separate local print excess from an incorrect fit allowance or warped enclosure.
- Check closure, retention and release after cleanup, before adding paint or components.
Identify the surfaces that make the latch work
A typical cantilever snap fit has a flexible arm, an entry ramp and a shoulder that catches behind another feature. Each has a different job. A stray extrusion on an adjacent rigid wall may block closure, while the protruding hook itself is intentional. Treating both as burrs can remove the mechanism you need.
Study the design before touching the print with an abrasive. Find the intended direction of assembly and, for a reusable latch, its release method. Some catches are intended to remain assembled. Do not repeatedly engage a one-way catch as though it were a removable box lid.
Formlabs' snap-fit design guide discusses the relationship between geometry, material and print orientation. That is useful background for FDM makers, but dimensions or material results from another printing process are not a finishing allowance for your part. Judge the actual printed design and filament.
Find out why the two parts do not close
Remove loose support debris and inspect the mating parts separately. Then bring them together gently in the intended orientation. Stop at the first resistance and look for the contact location. A first-layer lip on the box rim can prevent closure before the latch even reaches its opening.
Check for shell distortion, misplaced supports and a uniformly tight fit. If the lid binds along its entire length, grinding the hook is unlikely to solve the underlying problem. If one isolated nub blocks an otherwise aligned joint, local cleanup may be appropriate.
Inspect the arm root for cracks or a changed surface appearance after the trial. Stress whitening is a reason to stop and assess the part, not a signal to force it farther. A cracked latch is not repaired by sanding away the visible crack or covering it with paint.
Technical Explanation
Preserve the working latch geometry
Snap fits depend on both clearance and controlled deformation. Removing material from a rigid obstruction may improve clearance; removing it from the spring or retaining shoulder can alter force and engagement. The same visible reduction in plastic therefore has very different consequences depending on where it occurs. This guide is a cleanup workflow, not a load-rating test.
Decide between a file, paper and a rotary pen
A fine hand file offers controlled contact on a small rigid edge. Abrasive paper on a suitably shaped support can address a broader contact patch. Keep the tool away from a flexible arm's root and avoid rounding the shoulder that retains the latch.
A rotary pen can be considered for an accessible support nub on a thick outer rim or a robust, nonflexing wall. It should not be used to thin the spring arm, hollow out its root or reshape the hook until it engages. Those operations change the design rather than merely remove printing waste.
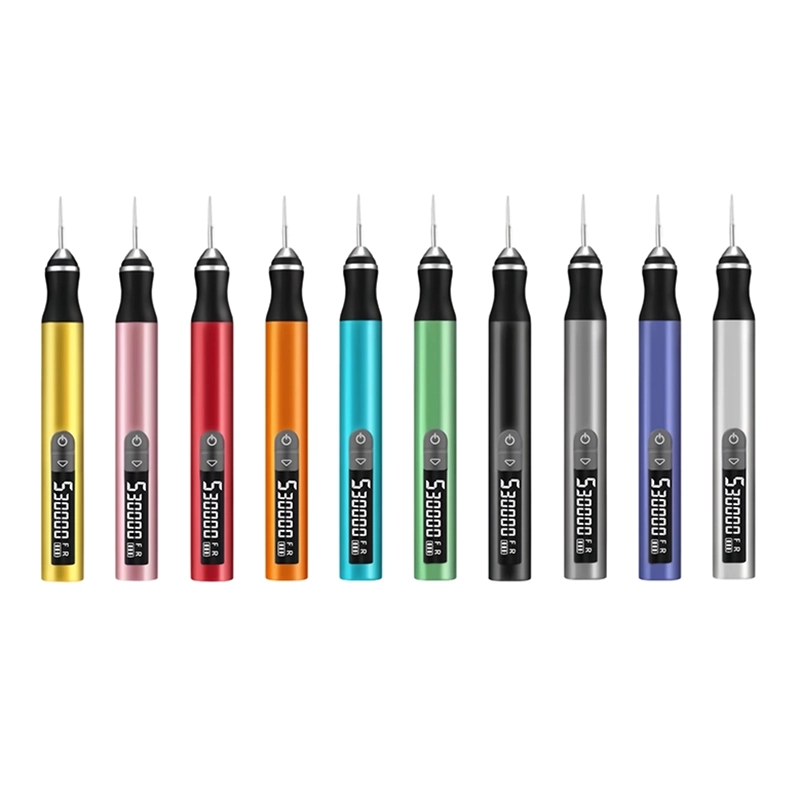
The H102 is a compact engraving pen with five adjustable gears and a digital display. Those controls help you identify and repeat a selected setting during a scrap trial; they do not guarantee suitable contact on a delicate latch. Confirm a compatible plastic-working accessory and its operating limits before using it.
Prepare a stable, clean working setup
Remove electronics, magnets and other loose components from the enclosure. Separate the two printed halves. Hold the rigid body with padded supports, keeping clamping force away from the latch arm. If securing the part bends the arm or changes the opening, the fixture is unsuitable.
Wear eye protection, control dust near the contact area and use respiratory protection appropriate to the material guidance. Remove large support pieces with suitable hand tools before fine cleanup. Avoid pulling support material in a direction that loads the latch root.
Fit the rotary accessory only with the tool switched off, and follow its mounting instructions. The H102 uses a 2.35 mm chuck; shank fit is only one compatibility check. Test the complete arrangement on matching scrap, preferably a spare latch sample, and reject a setup that grabs, chatters or smears the plastic.
Correct one rigid obstruction at a time
Keep the identified burr in view and make a small correction using the least aggressive suitable method. With a confirmed rotary accessory, use light, brief contact on that protrusion only. Leave a margin around neighboring flexible features and switch to hand work before contact becomes uncertain.
Do not brace the latch against the spinning tool or hold the arm in a bent position during finishing. A feature that cannot be held stable without deformation is a poor candidate for powered cleanup. A miniature accessory does not remove this limitation.
Stop the tool before clearing debris, allow any warming to dissipate, and inspect under good light. Friction can soften PLA, while other filaments require their own checks. No single RPM applies to all latch shapes and materials. If clean removal is not possible within the confirmed operating limits, abandon the powered method.
Test the complete latch behavior
Clean both mating areas before the next dry fit. Check whether the lid reaches its intended position without being forced. For a reusable design, confirm that the catch engages, holds as intended and releases through its designed movement. A loose lid that now closes easily is not a successful correction.
Compare both sides of a symmetrical enclosure. If only one catch works, inspect body alignment instead of immediately copying the same sanding to the other catch. Keep notes about the location and amount of correction; change one feature at a time so the result remains understandable.
Before painting, identify the functional contact faces. Coating buildup can change engagement, and removing paint afterward can remove more plastic than intended. Follow the coating system's instructions, keep excluded areas clear and repeat the fit check after curing. Cosmetic filler should not be used to disguise a damaged spring arm.
Know when a reprint is the better repair
Reprint or revise the design when the arm has cracked, the retaining shoulder is missing, the shell is warped or the entire joint needs substantial enlargement. Local finishing cannot establish the strength or fatigue life of a latch that has been reshaped by guesswork.
The next iteration may need a change to fit allowance, support location, print orientation or material selection. Keep those variables separate. A successful trial with one PLA formulation does not prove that a different filament will flex or finish the same way.
Common mistakes include sanding both mating faces at once, smoothing away the hook because it looks like excess, and accepting closure without checking retention. The useful stopping point is functional: the sound, clean parts perform the intended assembly and release movements while retaining their designed features.
Frequently Asked Questions
Frequently Asked Questions
Can I sand the hook smaller if the lid will not close?
Do not start there. Check the rim, alignment and actual contact point first. The hook may be correctly sized and essential to retention. A design change should be evaluated as a design change, preferably on a replacement sample.
Is PETG always better than PLA for a snap fit?
No single material choice settles the question. The filament's properties, print orientation, geometry and intended number of uses all matter. Finishing a part cannot compensate for an unsuitable material or damaged arm.
What if a latch turns white during fitting?
Stop forcing it and inspect for stress damage or cracking. Do not simply polish the white area and continue. For a damaged latch, revise or reprint the part and investigate the interference.
Can a rotary pen clean the slot beside a thin arm?
Only if an approved accessory can reach a rigid target with clear separation from the arm and stable workholding. In a narrow, crowded slot, a suitable hand tool or a corrected reprint is usually the more controllable choice.
Should I test the latch before installing electronics?
Yes. Keep components out during abrasive work and resolve the fit first. Clean the enclosure thoroughly, then assemble it in the intended sequence. Dust and repeated forced closure do not belong around installed components.
Final Buyer Recommendation