
Rotary Tool and 3D Print Finishing
Finishing Silk PLA Prints: Protect Color, Shine and Detail
A practical guide to finishing silk PLA prints: control where you remove material, assess changes in sheen, and use a rotary pen only where its marks are acceptable.
Quick Answer
Finishing silk PLA prints requires deciding which matters more in each area: removing a defect or preserving the original sheen. A mini rotary tool may help trim a hidden support nub or a robust assembly feature, but abrasion on a visible face can leave a contrasting patch. Test the exact filament first, keep powered contact localized, and do not assume that polishing will recreate the printed finish.
Buyer Takeaways
- Evaluate the model under its intended display lighting before removing material.
- Separate hidden fit surfaces from visible decorative faces.
- Use a representative test print to judge both geometry and sheen changes.
- Treat sanding, polishing and coating as different finish choices, not guaranteed restoration steps.
Decide whether the native finish is the finished surface
Silk filament is often chosen because the part can be displayed without paint. That changes the cleanup decision. On a model destined for opaque paint, a small sanded patch may disappear during preparation. On an unpainted decorative model, the patch itself can become the most visible feature.
Examine the cooled print under several light directions and at its usual display distance. Rotate it rather than judging one photograph. Identify which marks actually interrupt the silhouette or make assembly difficult, and which only appear under close, harsh lighting.
Bambu Lab's PLA Silk+ guidance links outer-wall printing conditions with gloss. That is a material-specific example of why the printed surface matters. It does not provide a post-processing recipe for every silk filament, and it does not establish compatibility between that filament and a particular rotary accessory.
Divide the part into visible faces and working interfaces
Hidden locating tabs, underside support contacts and internal assembly ledges may need cleanup even when the outside face should remain untouched. Map those areas before choosing a method. A practical plan might leave the decorative body alone while trimming one underside nub that prevents the model from sitting on its base.
Keep thin decorative details separate from robust features. A shiny raised swirl can be an intended feature rather than a printing blob. Compare with the model and inspect both sides before reducing it. Color transitions can also make a normal surface look uneven when it is not physically raised.
A pit is missing material. Sanding a larger area to its depth can create a broad change in sheen as well as a depression. For an unpainted display piece, accepting the pit or reprinting with a revised support arrangement may look better than a conspicuous repair.
Technical Explanation
Smoothness and matching sheen are different goals
Surface appearance depends on how light interacts with the printed texture as well as the filament itself. Abrasion changes that texture. A geometrically smoother patch can therefore look different from the surrounding print. The practical inference is to evaluate the whole finish under use conditions, rather than equating smaller scratches with restoration of the original sheen.
Make a finish sample that answers the right question
Use the same filament, print orientation and visible surface style for a spare sample. Include a curve if the model is curved and a support contact if that is the defect you want to remove. A different color or a plain PLA scrap may not reveal how the finished display surface will look.
Test only the treatment you are considering: local hand trimming, supported sanding or a confirmed rotary accessory. Inspect the sample after removing dust and allowing it to return to room temperature. Compare the treated area with an untouched section under the final lighting.
Do not judge the trial only by how smooth it feels. Look for a matte halo, uneven reflection, lost edges and changed color appearance. If the sample is unacceptable, do not proceed on the main model hoping that a longer polishing stage will necessarily fix it.
Use the rotary pen on suitable local defects
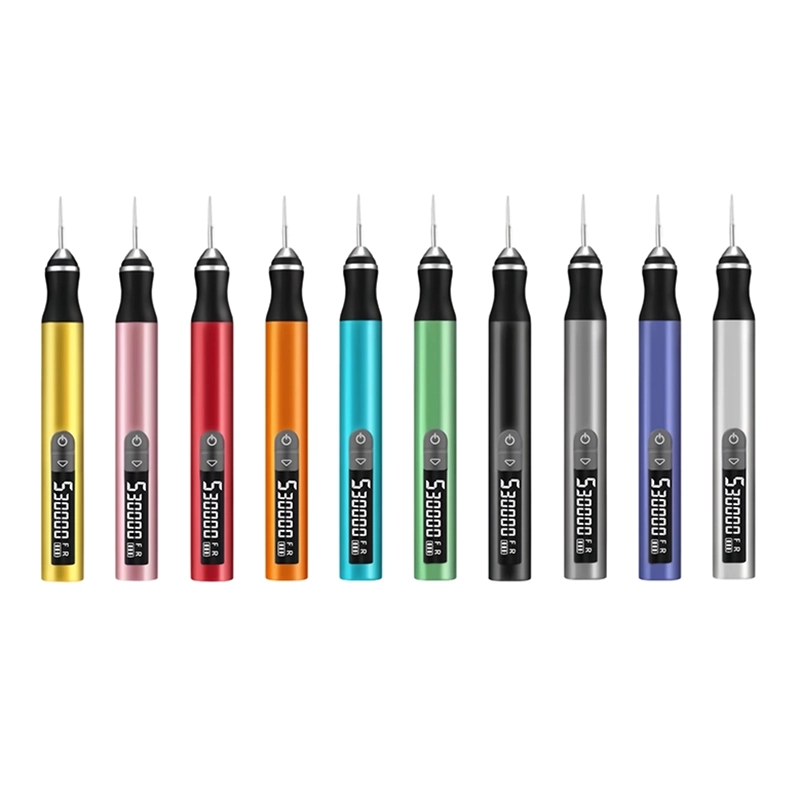
The H102's compact pen body is useful when you need to position an accessory beside a small, visible target on a robust feature. Its five adjustable gears and digital display help identify the chosen setting during a trial. There is no published silk-PLA speed chart, so do not select a universal RPM from the tool's maximum rating.
Confirm that the accessory is suitable for the exact plastic and operation, fits the 2.35 mm chuck as specified and has appropriate speed limits. The product's accessory count does not tell you which item is suitable for this filament. Obtain the individual accessory guidance before powered work.
For the actual cleanup, secure the part without marking or distorting its show surfaces, wear eye protection and control the dust. Remove large support pieces by suitable hand methods first. Make brief, light contact only on the identified excess, keeping the neighboring visible face out of the working area.
Preserve edges and stop at a change in behavior
Switch the tool off before checking the part or clearing residue. Stop immediately if the contact smears, produces a soft edge or begins to grab. PLA is sensitive to frictional heating, and decorative formulations must be evaluated individually. More pressure is not a remedy for a loaded or unsuitable accessory.
On a broad visible face, supported hand sanding may offer better geometric control, but it still changes the surface texture. Use it only when you have accepted that finish change after the sample trial. A fine file is useful for a hidden straight edge; it is not a way to recreate a glossy printed curve.
Keep electric-tool work dry unless the tool manufacturer explicitly supports another method. If a separate hand-finishing process involves water, keep it away from the rotary tool and follow the material and abrasive instructions. Do not improvise liquid cooling as a cure for heat marks.
Choose a deliberate route for an already-sanded patch
Once a visible patch has been abraded, pause before enlarging it. Decide whether the model will remain partly as printed, receive an intentional uniform finish, be painted, or be replaced. Each choice has a different appearance goal. Repeatedly moving between them can remove detail without producing consistency.
Polishing compounds and clear coatings should be tested with the exact filament and finish system. They can change gloss or color appearance, and they are not guaranteed to restore the original surface. Follow supplier instructions for preparation, ventilation and curing; do not treat a coating as a way to hide a damaged thin wall.
If the model includes mating parts, complete their fit checks before finishing and protect functional interfaces from unwanted coating buildup. Clean dust from seams and recesses. Evaluate the assembled object under display lighting after the chosen coating has fully cured.
Avoid cosmetic overwork on the next print
If the model's original surface is the main attraction, plan the next print around preserving it. Consider support contact locations, orientation and filament-specific settings. Use a small test section to compare appearance rather than changing several settings on a full-size model at once.
A seam placed on a less visible side may be easier to accept than a seam ground away across a show face. Likewise, a removable base may allow hidden contact cleanup without touching the decorative body. These are design and printing decisions that reduce the need for aggressive finishing.
Common mistakes include polishing every visible line, assuming all silk PLA behaves alike and testing on unrelated scrap. Stop when the part assembles correctly and its finish meets the chosen display goal. A trace of printed texture is often less disruptive than inconsistent sheen from unnecessary abrasion.
Frequently Asked Questions
Frequently Asked Questions
Can a rotary polishing wheel bring back silk PLA shine?
There is no universal guarantee. A wheel, compound and filament form a specific finishing system that must be confirmed and tested. The H102's listed polishing application does not establish a proven silk-PLA restoration process.
Should I remove a tiny support mark on the front face?
Compare its visibility with the likely finish change demonstrated on a sample. If it is merely cosmetic and unobtrusive, leaving it may be preferable. A raised obstruction on an assembly interface is a different decision.
Can I use the same method on dual-color silk filament?
Test it separately. The apparent color can vary across the printed surface and with viewing direction. A method that looks acceptable on one solid color may leave a conspicuous patch on a multicolor model.
Is clear coat a substitute for sanding?
Not automatically. It is a separate finish system with its own preparation and compatibility requirements. It may change the appearance without removing raised defects. Test a representative sample before coating the complete model.
What is the most useful rotary task on an unpainted model?
Often it is a small hidden support nub or a robust locating feature that prevents assembly. Those tasks can improve function while leaving the main show surface alone, provided the accessory and setup are suitable.
Final Buyer Recommendation