
Electric Rotary Tool
Holding 3D Prints for Rotary Finishing Without Crushing Them
A practical guide to holding 3D prints for rotary finishing: choose strong support points, protect thin walls, keep the working area visible and inspect for clamp damage.
Quick Answer
Holding 3D prints for rotary finishing means supporting the part close to the intended contact point without squeezing its thin walls. Choose a rigid, accessible feature, secure the workpiece, and rehearse the tool path with the power off. If the print flexes, rocks or hides the contact area, change the setup or use a hand tool before removing material.
Buyer Takeaways
- Clamp a strong region, not the nearest convenient decorative feature.
- Check the underside of the print before deciding where to apply pressure.
- Reposition a stopped tool and released workpiece instead of reaching around an obstruction.
- A secure fixture does not make a delicate wall suitable for rotary sanding.
Start with the shape underneath the defect
A support nub on a solid mounting tab and a similar nub on a hollow shell can look identical from above. They need different handling. Turn the cooled, detached print over and inspect its wall structure, infill exposure, bridges and joints. Consult the model or slicer preview when the thickness is unclear. Identify where a clamp can react against solid material without bending the feature being cleaned.
This guide concerns small, rigid FDM models and decorative parts. A flexible TPU sleeve, a vase-mode wall or an assembled model with loose inserts needs a different approach. Remove electronics, magnets and separate fittings when the design permits. Large supports should already be removed with appropriate hand tools before setting up a local rotary finishing operation. Do not use the bit as a lever to break supports away.
Choose support that leaves the job visible
A small vise or suitable bench clamp can hold a robust print, but jaw pressure needs judgment. Clean protective jaw faces help prevent marks; loose padding can let the part rock or enter the rotating accessory. Keep cushioning contained beneath the contact area. Tighten only enough to secure the work, then inspect for whitening, distortion or opening layer seams. If the shape changes, release it and choose another support arrangement.
Support the feature near the work without blocking the accessory or tool body. A long tab held only at its far end can vibrate even when the vise itself is secure. A fitted cradle may improve support, but it must hold the part reliably and remain clear of the rotating attachment. A cradle that merely balances the model is not sufficient workholding. For a fragile shape, hand finishing may be the more controllable option.
Technical Explanation
Support limits movement, not material damage
Workholding and material removal solve different problems. A fixture limits movement, while wall thickness and geometry determine whether there is material available to remove. Prusa's guidance on layers and perimeters explains why a printed surface may be only a thin shell around infill. Treat the holding method as one check in the process, not proof that the print can tolerate a rotary accessory. This workflow is practical guidance, not a reported H102 fixture test.
Rehearse access before switching on
With the tool stopped, bring it toward the defect along the path you intend to use. Check that your normal grip allows a direct view of the contact point. Consider the entire accessory, including its wider shoulder, shank and chuck. A small abrasive tip does not guarantee access if the rest of the tool would rub the adjacent wall. Avoid reaching over a tall model or working underneath a ledge you cannot see.
Set up lighting so both the raised remnant and the intended finished surface are visible. Wear eye protection, contain sanding dust and use respiratory protection appropriate to the material guidance. Keep hair, loose clothing, cords and unsecured cloth away from rotation. Position dust extraction without obstructing your view or pulling on the part. The workpiece should stay still without your free hand holding it beside the bit.
Match the H102 and attachment to the contact area
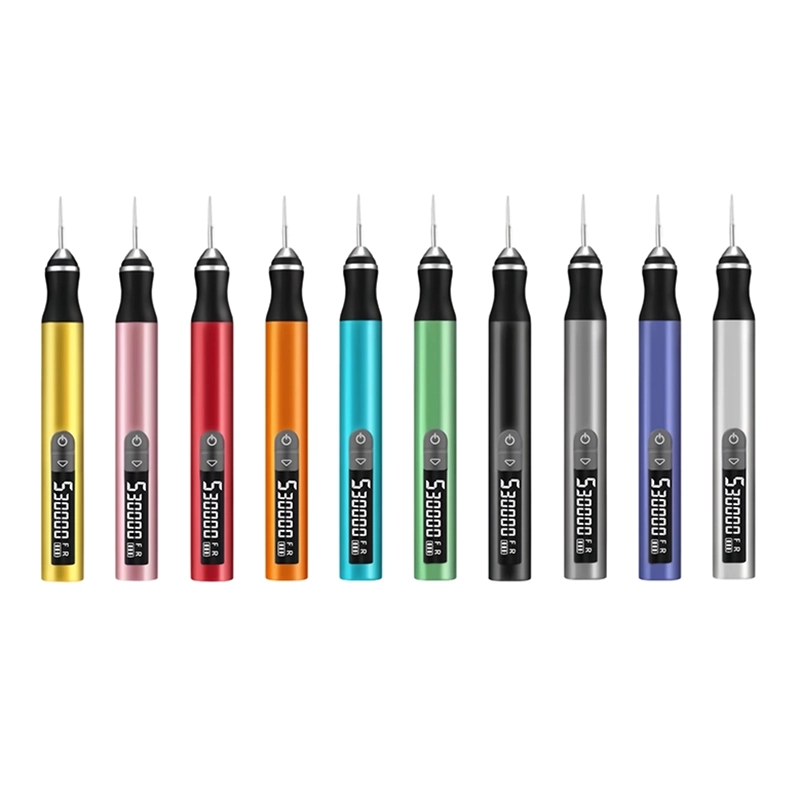
The ToolQeen H102 is a pen-style tool with a listed 59 g body. Its shape can help you place the contact area deliberately when the workpiece is already supported. It does not replace a clamp. The product page specifies five adjustable gears, a digital display and a 2.35 mm chuck. Confirm the exact accessory's shank fit, mounting method, material suitability and permitted speed before use. Matching shank diameter alone is not complete compatibility.
Select a confirmed plastic-suitable attachment whose working surface can touch the raised defect without reaching neighboring details. A broad abrasive face may be inappropriate beside a narrow rib. If only a flat ledge needs leveling, a small sanding block often preserves its shape better. No single H102 setting is established for every filament and attachment. Follow the supplied tool and accessory instructions and verify the combination on scrap from the same print material.
Test the fixture as well as the finish
Use a failed print or representative offcut to check both restraint and material response. Secure it in the same manner as the final part. Start with the accessory clear of the surface and make brief, light contacts using a manufacturer-supported setup. Stop to inspect the result. Smearing, a widening shiny patch, unexpected vibration or movement of the workpiece means the process needs adjustment; pressing harder is not a correction.
On the final model, reduce only the protruding remnant. Stop the tool before checking the surface by touch or making any fixture adjustment. Recheck the jaws after repositioning. A print that was secure for one approach may become poorly supported when turned over. Keep the task dry around the electric tool. Advice about wet hand sanding does not establish permission to wet-sand with the H102 or to add water as a cooling method.
Release the part before judging its final shape
A clamped print can appear flat because the fixture is bending it. After local cleanup, stop the tool, let the accessory stop completely, and release the workpiece. Check its natural shape on the intended mating surface or against the other assembly component. Look for a clamp imprint, a cracked rib or a seam that has opened under pressure. These defects matter even if the original support mark is gone.
Finish the transition with appropriate sandpaper or a small file where you can control the edge. Collect debris rather than blowing it across the workspace. Inspect the surface under angled light before painting. For assembly, check contact and alignment with clean parts and light hand pressure. A tight spot caused by warping or a dimensional mismatch should not be treated as permission to keep grinding until the parts fit.
Three setup mistakes that cost detail
The first mistake is clamping a hollow part harder each time it moves. More pressure can distort the shell while leaving the unsupported working area just as flexible. Improve the support location instead. The second is treating your fingers as a fixture for a tiny part. If a safe clamp arrangement is impossible, choose a hand method or change the part design rather than bringing fingers into the working area.
The third is attempting the whole perimeter without repositioning. It is easy to lose sight of the bit or turn a local cleanup into an accidental bevel. Divide the job into accessible areas and stop between them. Dremel's general detail-sanding guidance also emphasizes supporting the work and collecting dust; its branded fixtures and tool-mounting methods are not automatically suitable for an H102.
Things Buyers Should Check
Things Buyers Should Check
- ✓The fixture supports a strong region close to the work.
- ✓The print does not flex or rock when held.
- ✓The entire attachment path remains visible and clear.
- ✓The released part retains its intended shape.
Frequently Asked Questions
Frequently Asked Questions
Can I hold a small print in my fingers?
For powered finishing, secure the workpiece with a suitable fixture that keeps fingers clear. If its size or shape prevents that, use an appropriate hand tool. Do not accept an unstable hold simply because the cleanup area is small.
Should I clamp the H102 and move the model against it?
Use the H102 only in configurations supported by its instructions. This guide does not recommend mounting the pen as a stationary grinder. Support the workpiece and operate the tool as intended.
How do I protect a painted surface from the jaws?
Prefer completing abrasive work before painting. If a finished surface must be held, check any protective jaw material on an inconspicuous area, keep it secure and inspect the coating after release. Padding cannot eliminate all marking risk.
What if the print vibrates although the clamp is tight?
Stop. The local feature may be unsupported, the attachment may be unsuitable, or the setup may be faulty. Reassess support and follow the tool's inspection instructions. Do not try to suppress vibration by pushing harder.
Is the same fixture suitable for PLA and TPU?
Not automatically. Flexible material can deform in the jaws and around the contact point. Evaluate its own geometry and material instructions; a setup that works for a rigid PLA part does not establish a safe TPU finishing method.
Final Buyer Recommendation