
Rotary Tool and 3D Print Finishing
Finishing FDM Miniatures: Safe Uses for a Mini Rotary Tool
A careful approach to finishing FDM miniatures: use a rotary pen on accessible robust areas, protect fine details, and prepare small models for primer.
Quick Answer
Finishing FDM miniatures calls for selective cleanup, not powered sanding of every visible layer. A mini rotary tool may help on a robust base or a substantial accessible support nub. Fine faces, fingers, lettering and thin weapons usually need hand work or no intervention. Choose the least destructive method that improves the model at its intended viewing distance.
Buyer Takeaways
- Separate robust bases from fragile sculpted features.
- Inspect at the scale where the miniature will be viewed.
- Remove supports in sections without levering against details.
- Keep primer buildup and abrasive removal away from fine relief.
Define a useful finish for the miniature
Tabletop figures, small buildings and terrain pieces do not all need the same surface. A broad base rim may benefit from a clean edge, while a stone wall's intentional texture should survive. A face that looks slightly stepped under magnification may still read clearly after careful painting. Decide what must improve before reaching for a tool.
View the model at normal distance as well as under magnification. Identify obvious support nubs, hanging fragments and unintended sharp edges. Separate these from sculpted folds, hair, panel lines and deliberate damage. Keep the digital sculpt or a reference view available where the boundary is unclear.
Look for weak layer bonds and unsupported features. A miniature can be rigid at its base but fragile at an ankle or wrist. This guide concerns rigid FDM prints. Photopolymer resin miniatures and filled filaments need their own material instructions and dust controls; their appearance does not make this workflow interchangeable.
Divide the model into cleanup zones
Treat the base perimeter, large terrain surfaces and substantial body areas as possible cleanup zones. These may have room for a fixture and a visible tool approach. Treat fine relief, narrow projections and thin walls as protected zones where material removal has much less margin.
A rotating head needs clearance beyond its cutting point. Check whether its shank or chuck would pass near a face, finger or raised emblem. A head that can physically enter a gap may still touch two surfaces at once. Do not assume a small diameter solves every access problem.
Use a fine hand file where a straight base edge needs control. Small supported abrasive pieces can refine an accessible flat area. Where the intended feature is already barely larger than the defect, doing nothing may preserve more useful detail than attempting to perfect it. Plan each zone separately instead of choosing one tool for the entire miniature.
Technical Explanation
What changes during cleanup
At miniature scale, the defect and the intended feature may be similar in size. Removing enough material to eliminate a layer step can also remove an eyelid, fold or letter. Evaluate how much geometry the proposed finish consumes, not only how small the tool appears.
Remove supports without using the sculpture as a lever
Wear eye protection and place the model where loose support fragments can be collected. Work on the support network in small sections with suitable hand tools, supporting a robust neighboring area. Avoid twisting a whole branch against a wrist, antenna or other narrow connection.
Inspect after each section comes away. If the attachment does not release cleanly, leave a short nub rather than risk tearing out the underlying sculpt. Separate loose strings and debris from the areas that need actual material removal. A cosmetic remnant can be approached again; a broken feature may require a different repair or replacement.
For powered work, secure the base or another substantial area in padded support without loading delicate parts. Arrange appropriate extraction for fine plastic dust and follow the material instructions for respiratory protection. Keep fingers away from the head. If the only possible grip would crush the model, use a hand method instead.
Test control on something expendable
A failed miniature from the same spool is a better trial than a large block of unrelated plastic. Select a comparable wall or base feature, secure it and check the planned approach with the tool off. Decide where removal must stop before switching on.
Inspect the head and mounting with power off and charging disconnected. Confirm material suitability, shank fit, permitted working surface and speed against the supplied instructions. Use a manufacturer-permitted setting, then make brief, light contact on a raised defect. Stop to inspect with the head stationary.
Check for a smaller nub without a dent, softened edge or flexed detail. PLA's heat sensitivity makes lingering contact particularly undesirable. Prusa's PLA guide discusses material limitations and hand wet sanding, but that is not approval to use an electric pen with water. If the trial cannot preserve the adjacent shape, change the method rather than repeat it on the figure.
Use powered cleanup only where it earns its place
On a robust base, target the raised nub while keeping the intended rim visible. Lift away frequently and stop before the last trace is flush. Finish by hand, checking the line around the base so a local repair does not create a notch.
On a terrain piece, distinguish an unintended support attachment from intentional rock or masonry texture. If the abrasive would remove useful sculpted texture around the attachment, a small remaining mark may be easier to incorporate into the paint finish than a flattened patch. That is an aesthetic decision, not a claim that paint repairs missing detail.
Avoid trying to erase layer lines from tiny faces, fingers and lettering with a rotary head. Each pass removes part of the feature as well as its texture. Do not use polishing as a shortcut: it can change surface appearance without establishing the shape you want. Thin projections belong in the protected zone unless a specific supported procedure says otherwise.
Prepare for primer without burying the sculpt
Clean the model after abrasive work using a method suitable for the material. Inspect recesses for debris before coating. Check separate parts for fit while they are still unpainted, and keep assembly surfaces free of material that would interfere with the chosen adhesive or joint.
Use a primer compatible with the filament and follow its instructions. Trial it on a spare piece with comparable small details. Excess coating can soften the appearance of shallow relief just as excessive sanding can. The aim is a prepared surface that retains the sculpt, not the thickest possible coating.
Small pits on a broad base may accept compatible cosmetic filler. A pit in a tiny face is a different repair because filling can hide neighboring features. Work within your model-making skills and inspect the result at normal distance. If a fragile part is damaged, consider a replacement component instead of repeatedly abrading the surrounding model.
Evaluate the H102 by access and accessory fit
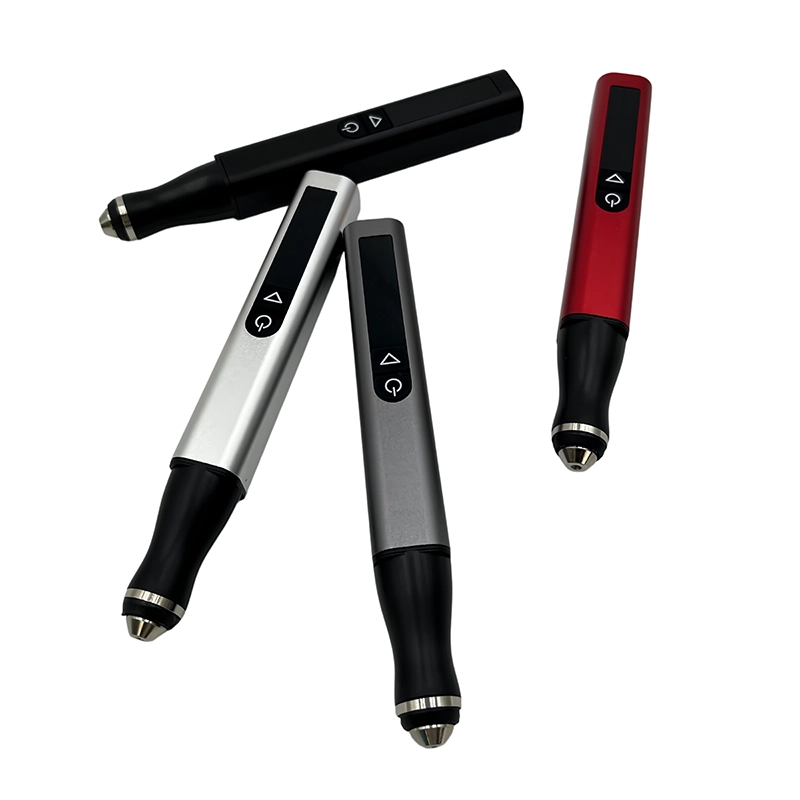
ToolQeen lists the H102 for plastic carving and hobby model making. Its 59 g pen-shaped body is relevant to placing a head at a small, visible work area. Five adjustable gears and a digital screen help identify an approved setting, but they do not provide automatic protection for miniature details.
The listed chuck is 2.35 mm, and the page states a 30-accessory configuration. Confirm which specific head is supplied for plastic cleanup, including its dimensions and instructions. There is no published filament-by-filament accessory chart on the page, and a collection of heads is not proof that each suits a tiny model.
The maximum listed speed is 30,000 RPM, with no published minimum or gear values. Do not select a pen for miniature work solely on that maximum. Ask about the supported operating range and accessory combination, and confirm sample or single-unit availability through ToolQeen's inquiry route.
Frequently Asked Questions
Frequently Asked Questions
Should I grind layer lines off a miniature's face?
Usually a hand approach or no intervention is more appropriate. Facial relief is easily reduced along with the layer texture. Compare the model at normal viewing distance and test the planned primer before deciding more removal is necessary.
Can I clean a base with the figure still attached?
Only if the base can be secured and the tool path stays clear of the figure. If access requires passing the chuck beside fragile details, change the fixture, use hand tools or plan separate components on the next print.
Is a resin miniature treated the same way?
No. This article concerns FDM parts. Resin type, curing state, dust precautions and tool suitability require separate guidance. Do not apply a PLA trial result to a photopolymer model.
Will a thicker primer coat hide all FDM texture?
Do not assume so. Coating can also obscure sculpted detail and affect fit. Follow the primer instructions and test a comparable spare. Large raised defects and deep pits need their own preparation decisions.
What is the best first powered task to practice?
A visible raised nub on a robust, expendable base is more informative than a delicate figure. Use the same filament and a confirmed accessory, secure it properly and judge whether the original rim survives.
Final Buyer Recommendation