
Electric Rotary Tool
Finishing ABS and ASA Prints with Careful Rotary Cleanup
Finishing ABS and ASA prints requires more than choosing a speed. Check warping and wall thickness, control dust and use local rotary cleanup only on suitable features.
Quick Answer
Finishing ABS and ASA prints starts with checking the cooled part for warping, layer damage and remaining wall thickness. Both materials can be mechanically finished, but that does not validate every rotary attachment or speed. Use a mini rotary tool selectively on accessible raised defects, manage dust, and hand-finish broad or critical surfaces. This guide covers dry mechanical cleanup, not solvent smoothing.
Buyer Takeaways
- Higher service-temperature capability does not make a print immune to frictional damage.
- Separate an isolated support mark from a warped face or undersized opening.
- Confirm the exact ABS or ASA grade, attachment and finishing instructions.
- Judge the part after unclamping; a fixture can temporarily conceal distortion.
Inspect the cooled print before planning the finish
A print should be cool, detached and free of large supports before local finishing begins. Look across flat surfaces and inspect corners, layer junctions and thin ribs. Compare important dimensions and interfaces with the design. A raised support remnant may justify removal. A lifted corner or a face that bows across its whole length is a different problem; grinding it flat can leave the part thinner in some places without correcting the underlying shape.
Prusa's material guides describe both ABS and ASA as candidates for post-processing, while also discussing warping. Those are separate facts that belong in the same decision. Easy sanding does not make every imperfect print worth saving. Reject or reprint a part with separated layers or insufficient remaining wall for its intended job. This article focuses on unfilled hobby and model parts, not validated structural repairs.
Keep ABS and ASA material guidance distinct
ABS and ASA are related thermoplastics, but they are not interchangeable labels. Their formulations and printing behavior can differ, and outdoor suitability is not identical. Use the information for the actual filament in your hand. A generic statement about ASA's weather resistance does not show that an unknown ABS print is suitable outdoors, and a finishing process does not add a missing material property.
Keep the abrasive task equally specific. A solid ASA display bracket with one small nub is unlike a thin ABS decorative shell. A test result on one does not establish a method for the other. Filled variants introduce additional considerations, especially their dust and attachment requirements, and fall outside this ordinary unfilled-plastic workflow. Do not carry over a PLA or PETG speed recipe simply because the surface looks similar.
Technical Explanation
A material name is not an operating recipe
Material suitability for mechanical finishing is only one part of the decision. The remaining wall, access, attachment, workholding and final use must also support the operation. The ABS and ASA references establish material context; they do not certify H102 compatibility with a particular filament grade or authorize a uniform RPM. The workflow here is conditional practical guidance and contains no claimed ToolQeen material test results.
Assign each surface to the appropriate tool
A rotary pen can be considered for a localized protrusion on a robust, exposed area. A small attachment may help reach a curve where a broad block cannot make useful contact, provided the tool can stay clear of adjacent features. It is a poor choice for planing an entire mating face, resizing a bore by eye or preserving a long straight sealing edge. Those shapes need controlled references and their own appropriate methods.
A sanding block can preserve a broad plane; a suitable file can give deliberate control at an accessible edge. Fine details may be best left alone. Classify depressions separately from protrusions: sanding down to the bottom of a support pit removes sound surrounding plastic. For a shallow cosmetic pit on a painted model, a compatible filler can be considered. That decision requires the filler manufacturer's material, preparation and cure instructions.
Set up dry finishing and dust control
Secure the print by a strong region with the working area visible. Check that the clamp does not bend a thin wall or close a gap. Arrange eye protection, material-appropriate respiratory protection and dust collection before starting. Keep loose clothing, hair and cleaning cloths away from the rotating attachment. Collect debris rather than blowing it around, and keep the work separate from exposed electronics or assembled moving parts.
Follow the tool's instructions when fitting and inspecting an accessory. The H102 uses a listed 2.35 mm chuck, but matching that diameter alone does not confirm a suitable attachment. Check the material application, mounting method, working surface and permitted speed as well. This is a dry powered-tool workflow. References that permit wet hand sanding of ABS or ASA do not authorize water around the H102, its chuck or its battery housing.
Use a scrap trial to choose whether to proceed
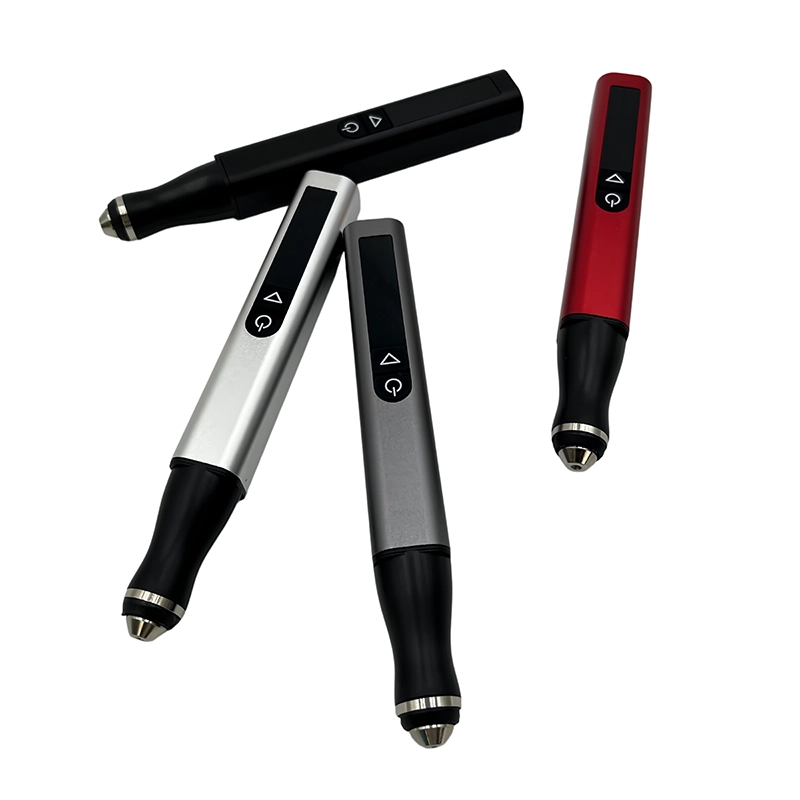
The H102 provides five adjustable gears with a digital display, which lets you select and return to a setting allowed by the tool and attachment instructions. Its advertised maximum speed is not a starting recommendation for plastic. The public product information gives no ABS- or ASA-specific operating chart. Begin with the instructions for the exact combination and a representative spare piece, including comparable wall thickness and access.
Observe the scrap after short, light contacts. Stop if the surface smears, discolors, develops an expanding depression or if the attachment or workpiece behaves unexpectedly. Reassess the method rather than increasing pressure. On the final part, address only the identified excess, stopping frequently to inspect. A light 59 g pen body can assist positioning; it cannot prevent gouging or compensate for an unstable workpiece.
Finish for the next operation
Once the local defect is reduced, stop the tool completely and remove collected debris. Release the print from the fixture and inspect its natural shape. Blend the transition by an appropriate hand method when needed. Check a mating face against its actual counterpart without forcing it into place. A clamped-flat part can spring back and still fail assembly, even though the cleaned area looks tidy.
For painting, follow the coating maker's advice for the specific substrate and test the complete system first. A surface that feels smooth is not automatically clean enough or chemically suitable for a primer. Avoid using an unspecified solvent as a universal wipe-down. For bonding, preserve the required joint geometry and use the adhesive maker's preparation guidance. Cosmetic sanding and the requirements for a reliable bond are related but distinct tasks.
Avoid the shortcuts that hide the real defect
One common mistake is assuming that a higher-temperature plastic permits aggressive tool contact. Friction is concentrated at the abrasive interface, and small ribs remain vulnerable. Another is combining solvent smoothing with rotary work without a defined, supported process. This guide does not provide a solvent-vapor procedure or recommend running an electric tool around solvents. Keep any separate chemical process within the relevant manufacturer's instructions.
A third mistake is broadening a small cleanup into a full-surface polishing project. If removing all layer texture would consume important wall or change a fit, stop. Use a suitable coating or a revised print plan when appearance is the main requirement. If several copies warp in the same way, correct the design or printing conditions before applying the same uneven grinding correction to each one.
Frequently Asked Questions
Frequently Asked Questions
Is ASA always easier to finish than ABS?
No universal comparison is established here. Grade, print quality, shape, accessory and desired finish affect the job. Use the actual filament documentation and a representative test piece rather than choosing a method solely from the polymer name.
Can I use the highest H102 setting because ABS resists heat?
No. Service-temperature properties do not establish an abrasive operating speed. Follow the tool and attachment limits and test the actual print material. Stop if the surface or contact behavior shows damage.
Is wet sanding allowed?
Wet hand sanding may be discussed in material guidance, but this article does not authorize wet operation of the H102. Follow each product's instructions and keep any separate hand process away from the electric tool.
Can sanding remove warping?
It can remove material from a high area, but it does not restore the original geometry or internal stress state. Evaluate the whole part and its required thickness. Reprinting may be the sounder choice for a distorted mating surface.
Should I use acetone before rotary finishing?
This dry cleanup guide does not prescribe acetone treatment. Chemical smoothing is a separate process with its own material, safety and dimensional implications. Do not improvise a combined solvent and powered-tool workflow.
Final Buyer Recommendation