
Rotary Tool and 3D Print Finishing
3D Print Sanding Problems: Smears, Gouges and Clogged Abrasives
Diagnose 3D print sanding problems including smears, gouges and clogged abrasives. Learn when to stop, inspect the setup, repair a cosmetic defect or reprint.
Quick Answer
3D print sanding problems such as smears, gouges and clogged abrasives are reasons to stop and inspect, not to press harder. Let the part and head cool, identify what changed and check the accessory setup. Resume only after a successful matching-scrap trial. Cosmetic low spots may need filler; cracked, thinned or distorted functional parts may need reprinting.
Buyer Takeaways
- Stop the tool before diagnosing a changing surface or accessory.
- Separate displaced plastic, removed material and existing print defects.
- Change one factor at a time during a new scrap trial.
- Choose repair or replacement according to function, not appearance alone.
Stop early and preserve the evidence
A surface that becomes glossy, a head that stops cutting or a new notch beside a support nub tells you that the finishing process has changed. Continuing immediately can enlarge the defect and make its cause harder to identify. Lift the tool away, switch it off and allow the part and accessory to cool.
Keep the print in a stable position while inspecting it. Do not touch a moving head or try to remove material stuck to an accessory while the motor runs. Disconnect charging power before any accessory inspection, adjustment or replacement, and follow the tool's isolation instructions.
Compare the affected area with your original defect and an untouched reference. Decide whether material has been smeared, removed, cracked or simply exposed by cleaning. Photographing the cooled surface can help keep that distinction clear during a later trial. Troubleshooting is easier when each new pass answers a specific question instead of trying to hide the last pass.
Diagnose a smear or softened edge
A shiny streak, rolled lip or distorted corner can indicate that the plastic has softened during contact. Inspect both the part and the head for transferred material. Do not assume that a smooth-looking smear is a polished finish; its geometry may be worse than the original surface.
Review the combination of material, accessory, permitted setting, pressure and contact duration. PLA's heat sensitivity is documented in Prusa's material guide. PETG and modified filaments need their own assessment rather than an automatic increase or decrease based only on a material name.
Do not quench an electric pen or add water because a guide describes wet hand sanding. Use a separate material-supported hand method if appropriate, away from electrical equipment. Before returning to powered work, test a corrected, documented setup on matching scrap. If a clean reduction cannot be achieved while preserving the edge, choose hand finishing or accept the remaining cosmetic trace.
Technical Explanation
What changes during cleanup
Smearing can move softened material; a gouge removes it. These may look like similar uneven patches after cooling, but they require different decisions. First establish what happened and how much sound material remains, then select a correction rather than repeating the original pass.
Investigate a gouge, notch or flattened patch
A gouge is missing material, so another grinding pass cannot put it back. First determine whether the head slipped, caught an edge, contacted an adjacent surface or simply stayed in one area too long. Check the fixture and the visibility of the contact point as well as the accessory.
A pointed head may have concentrated removal beside the nub. A rounded head may have changed a broad face into a shallow hollow. If the part moved, tightening the fixture is only useful if the shell can tolerate the support without crushing. Repositioning or a hand method may be the better correction.
Assess the remaining wall and function before cosmetic repair. A shallow mark on a sound display base may accept compatible filler. A notch in a thin snap tab, exposed infill or a changed locating surface may require a replacement print. Do not expand the damaged area just to make the finish look uniformly sanded.
Check a loaded or ineffective abrasive
If the head appears to rub without removing the intended excess, stop and inspect it. Look for plastic buildup, worn abrasive, damage and an unsuitable contact shape. Check the accessory's instructions for permitted cleaning or replacement. Do not improvise a powered cleaning method, solvent treatment or sharp-object scraping procedure.
With the tool isolated from power, confirm that the head is mounted as specified and that any band and mandrel belong together. A replacement band is not automatically suitable because it appears to fit over the same drum. Retention, size, material suitability and allowed speed all remain relevant.
Increasing pressure can add load without resolving the underlying problem. Recheck whether the chosen abrasive is appropriate to the filament and whether the remaining task is really a broad surface better handled by supported paper. A fresh accessory may restore its intended behavior, but it does not make an unsuitable operation appropriate.
Treat vibration and catching as setup failures
Visible wobble, a slipping shank or unexpected catching calls for an immediate stop. Inspect the accessory for damage and check its mounting against the instructions. Do not steady a spinning head with your fingers, bend a shaft back into service or continue because only a small mark remains.
Check clearances with the tool off. In a slot, the head may touch the opposite wall; near a support attachment, a loose fragment may move into its path. Remove large loose supports with suitable hand tools before powered cleanup and keep the contact point visible.
Confirm that the part is secured on a robust area with hands clear. Wear eye protection and arrange appropriate fine-plastic-dust control for any further work. If vibration persists with a supported, correctly mounted accessory, follow the tool maker's troubleshooting or service process rather than experimenting on the finished print. A finishing deadline does not improve an uncertain setup.
Decide whether to repair, leave or reprint
After cleaning, inspect the cooled part under side lighting and compare it with the intended geometry. Separate cosmetic appearance from dimensions, remaining wall and layer integrity. A mark on a hidden face may need no further work if it does not affect function; a subtle crack may matter even if it is easy to paint over.
For a cosmetic low spot on a sound part, choose compatible filler and follow its preparation, protection and curing instructions. Refine it with appropriate hand abrasives. Check the repair boundary because filler and plastic may respond differently. Before painting, clean away debris and follow the coating maker's instructions.
For assembly, test gently after cleaning and locate any remaining interference. Do not force a repaired part into place or remove additional material without finding the contact point. If cleanup has changed a critical dimension or weakened a feature, reprinting may be the most controlled option. Cosmetic smoothness does not prove restored performance.
Record a useful H102 trial instead of guessing RPM
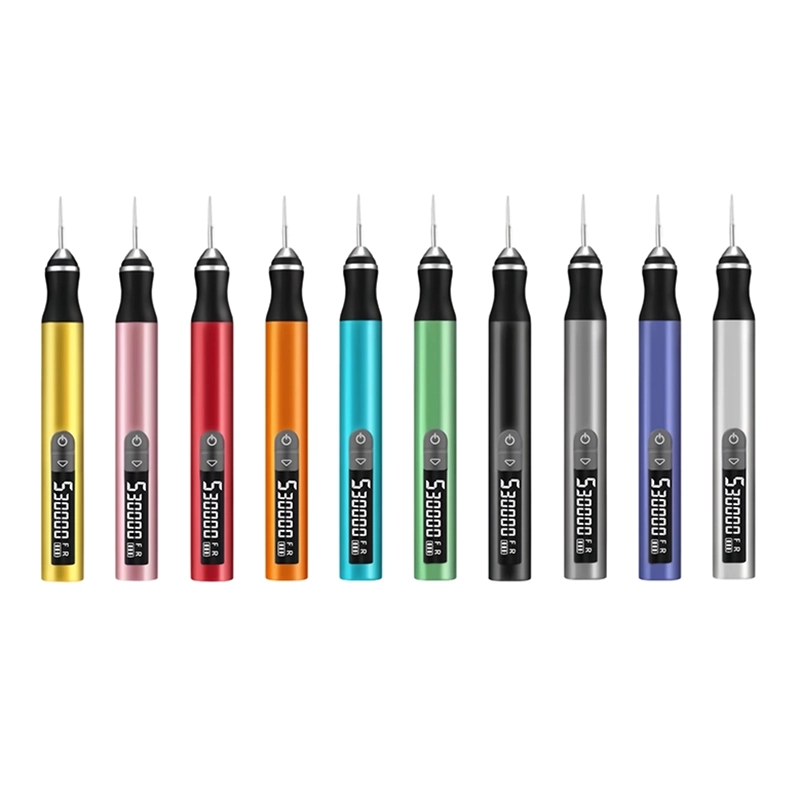
The ToolQeen H102 lists five adjustable gears, a digital display, a 2.35 mm chuck and plastic/model-making uses. When a supported setup is available, record the displayed setting, exact accessory, filament and observed result. That record makes a later comparison more useful than a note saying only “low speed.”
The public page lists a maximum of 30,000 RPM but not the minimum or each gear's value. It also lists 30 accessories without a complete filament-and-grit chart. Do not diagnose a problem by inventing an RPM for one of those gears, or by borrowing another tool's plastic setting.
Ask ToolQeen for the specific accessory and operating instructions when a required detail is missing. A successful trial should show the intended reduction with shape and surface integrity preserved. For a first purchase, confirm sample or single-unit availability and the supported setup before choosing the pen for a delicate FDM task.
Frequently Asked Questions
Frequently Asked Questions
Should I turn the speed down whenever plastic smears?
A setting change alone is not a complete diagnosis. Check accessory suitability and condition, pressure, contact time and geometry. Use only documented settings and verify the changed setup on matching scrap before returning to the model.
Can I sand out a deep gouge?
Removing the surrounding surface to its depth may thin or distort the part. Assess a compatible cosmetic fill for a sound display surface, or reprint when dimensions, wall integrity or a fragile feature have been compromised.
Why does a new abrasive still clog?
It may be unsuitable for the material or contact, or the operating approach may still soften the plastic. Stop and reassess the complete setup. Replacing the head repeatedly does not resolve an unsupported process.
Is a white mark always a crack?
No. Scratches or stress can change appearance, so inspect the cooled, cleaned part closely. Look for separation, movement and loss of shape. Do not assume either damage or harmlessness based on color alone.
What should I record after a successful scrap test?
Record the filament grade, representative geometry, tool, displayed setting, accessory identification and the observed surface result. Keep the record specific. It is evidence for that trial, not a universal recipe for other materials or heads.
Final Buyer Recommendation