
Electric Rotary Tool
Filling Support Pits in 3D Prints Before Sanding and Paint
Filling support pits in 3D prints restores missing surface material. Learn when to trim a raised rim, how to choose a compatible filler and when to hand-sand instead.
Quick Answer
Filling support pits in 3D prints replaces missing surface material; sanding only removes more material around it. First inspect the pit and any raised rim. Trim an accessible excess only where the wall is sound, choose a filler compatible with the print and intended coating, and follow its cure instructions. Hand-sand the repair to the surrounding shape before deciding whether primer is appropriate.
Buyer Takeaways
- A raised support remnant and a pit left by torn material need different treatments.
- Use filler for an appropriate cosmetic repair, not as proof of restored structural strength.
- Do not rotary-sand uncured filler or assume its cured form suits a plastic accessory.
- Preserve mating surfaces and recessed detail while blending the repair.
Read the scar after support removal
Support removal can leave a protruding nub, a shallow depression, or both. Inspect the cooled print under angled light and remove loose debris before making a decision. A ridge around a pit can exaggerate the shadow, but removing the ridge does not fill the depression. Compare the surface with the model so that an intended recess is not mistaken for damage.
This workflow concerns cosmetic repairs on rigid FDM display models that will receive an appropriate finish. It does not establish a structural repair, a food-contact surface or a sealing surface. A deep tear, exposed infill or a crack through a thin wall calls for a more careful decision, often reprinting. Cosmetic filler can conceal damage without recreating the original printed structure, and a smooth coat should not be mistaken for evidence that the part is sound.
Decide what can safely be removed first
If a solid raised rim remains, judge whether it can be reduced without thinning the nearby wall or changing a detail. An accessible, robust area may permit local rotary cleanup with a confirmed plastic-suitable attachment. A thin shell, corner or fine recess often favors a hand tool. The endpoint is the intended contour around the pit, not a newly lowered plane that makes the depression disappear.
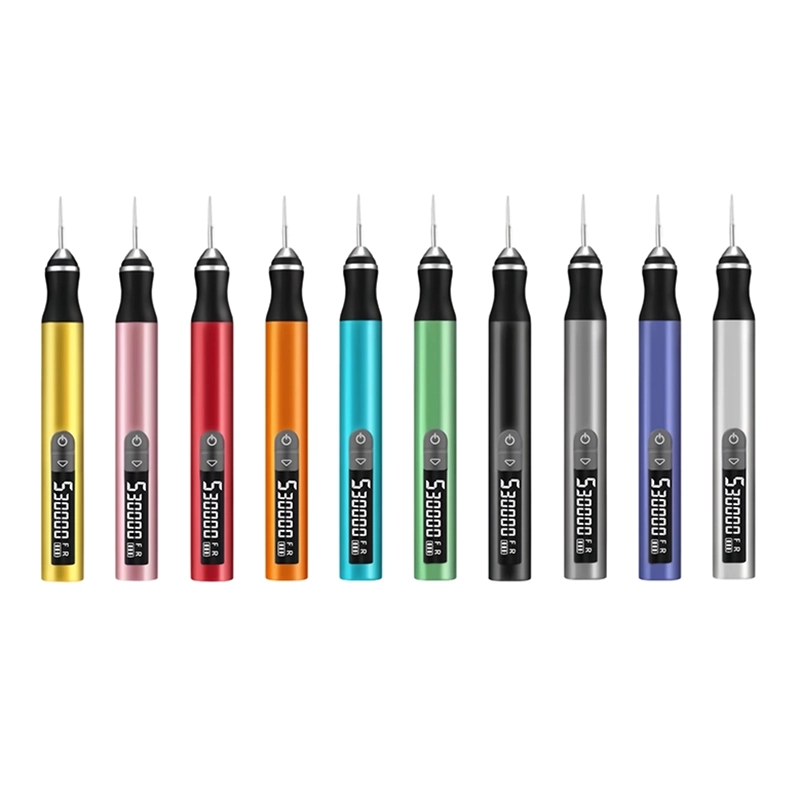
Secure the print by a strong area, protect your eyes and use dust control appropriate to the material. Test any powered contact on comparable scrap first. The H102's pen format can help position an attachment, but its five gears do not define a universal PLA, PETG or filler setting. Check the attachment's mounting, speed and material instructions, including compatibility with the 2.35 mm chuck. Stop if contact smears the plastic or produces a widening hollow.
Technical Explanation
A pit requires material, not more removal
A depression is missing volume. Abrasion can remove a raised rim or excess cured repair material, but it cannot add that volume. This distinction determines the sequence: inspect, remove only genuine excess, fill where appropriate, cure, blend and inspect again. A cosmetically restored surface should not be represented as a measured recovery of strength, sealing ability or original wall structure.
Choose the filler for the complete finishing system
Use a filler whose manufacturer supports the substrate and intended finish. Read its instructions and safety information for preparation, mixing, application thickness, ventilation, cure and sanding. A familiar automotive or model-making product is not automatically suitable for every printed polymer. The filler also needs to work with the primer and paint you plan to use; treat them as a sequence rather than independent purchases.
Prusa's post-processing guide discusses a fill-and-sand workflow for printed models. That provides useful context, but its example does not replace the instructions for your own filler. No specific brand or universal cure time is prescribed here. If the product information is unclear about the plastic, seek manufacturer guidance or choose a better-documented system. A test on a spare piece is a compatibility check, not proof of long-term adhesion or structural performance.
Apply only where the cosmetic repair belongs
Clean the repair area using a method permitted for both the filament and filler, and allow it to reach the condition specified by the product instructions. Keep the piece stable without distorting it. Apply the filler as directed, confining it to the intended repair and protecting nearby grooves, lettering and assembly surfaces. Do not rely on later sanding to recover every detail buried beneath an excessive layer.
A recessed joint, screw thread or sliding face should not be filled merely because its shadow resembles a pit. On a model with several different scars, repair one representative area first. Allow the specified cure before handling or finishing it. A surface that feels dry may still need more time before sanding or coating. Follow the product's stated conditions instead of shortening the wait because the pit is small.
Blend the cured repair with controlled hand sanding
For a small cosmetic pit, supported hand sanding usually gives a clearer reference to the surrounding shape than a rotary spot. Choose the abrasive and method recommended for the cured filler and substrate. Use a block where a plane must remain flat, and suitable controlled support where the surface is curved. Stop regularly to inspect whether the repair is blending or whether sound plastic is being removed around it.
Do not assume that an attachment approved for plastic also suits the cured filler, which may have a different composition and dust requirement. Powered filler sanding would require its own confirmed tool, accessory and material instructions; it is not the default method in this guide. Avoid sanding soft or incompletely cured material, and do not improvise wet operation with the H102. Keep any separately permitted wet hand process away from the electric tool.
Use inspection and primer as separate checkpoints
Collect dust and inspect the dry repair under angled light. Look for a remaining depression, a raised patch, scratches or a sharp transition around the filler. Release the print from its fixture before judging the contour. Compare it with the untouched surface nearby and with the intended viewing distance. A repair can feel smooth under a fingertip yet still show a ring under a directional light.
If the filler and coating instructions permit primer, use it according to that system and inspect after the appropriate drying or curing step. Primer may reveal defects; it is not an instruction to cover them with thicker coats. Correct a remaining cosmetic issue through the supported sequence instead of repeatedly grinding through mixed layers of unknown coating and filler. Check any assembly fit again before applying the final color coat.
Know when another repair pass is not worthwhile
A patch that lifts at its edges, stays soft beyond the specified conditions or repeatedly reveals movement beneath it needs investigation. Do not simply add more filler. Check substrate preparation, product compatibility, cure conditions and whether the print is flexing. A moving crack or insufficient wall is a poor basis for a durable cosmetic finish. Reprinting may be simpler than trying to conceal an unsuitable surface.
For future prints, consider support placement and removal access so important display faces need less repair. Keep the record specific: which surface tore, where supports attached and whether the same issue appears on another copy. The useful improvement may be in orientation or support removal rather than filler choice. Local rotary cleanup is one preparatory option; the complete repair depends on adding compatible material, allowing it to cure and preserving the surrounding geometry.
Project Flow
A cosmetic pit-repair sequence
- 01
Inspect
Distinguish missing material from a raised rim and check the wall.
- 02
Prepare
Remove only justified excess and follow the filler preparation instructions.
- 03
Fill and cure
Use a compatible product within its stated application and cure conditions.
- 04
Blend and inspect
Hand-finish the cured repair, clean it and assess the supported coating sequence.
Frequently Asked Questions
Frequently Asked Questions
Should I grind around the pit until it disappears?
Usually that removes sound surrounding material and changes the contour. Assess whether the pit needs a compatible cosmetic filler or a new print. Remove only a genuine raised rim when the remaining wall permits it.
Can I sand filler as soon as the surface feels dry?
Follow the filler manufacturer's sanding and cure instructions. Surface dryness alone is not a reliable substitute for the specified conditions. Finishing too early can disturb the repair or contaminate an abrasive.
Which H102 bit should I use on cured filler?
No universal attachment is established here. The filler, tool and accessory instructions must support that combination. For the small cosmetic repairs described, controlled hand sanding is the default blending method.
Will filler restore a torn structural wall?
A neat surface does not establish structural repair. The filler and repair design would need evidence for that use. Reprint a part where remaining wall integrity is important and cannot be confirmed.
Why does the repair show through after paint?
Possible causes include an uneven contour, scratches, incompatible materials or an incomplete preparation and cure sequence. Inspect a representative repair through the full coating system before repeating the process on the final model.
Final Buyer Recommendation