
Engraving Tool FAQ
Engraving Pen Sample Test for Metal Stencil Identification
Engraving pen sample test for metal stencil identification covers representative blanks, mark legibility, accessory fit, handling checks and approval records.
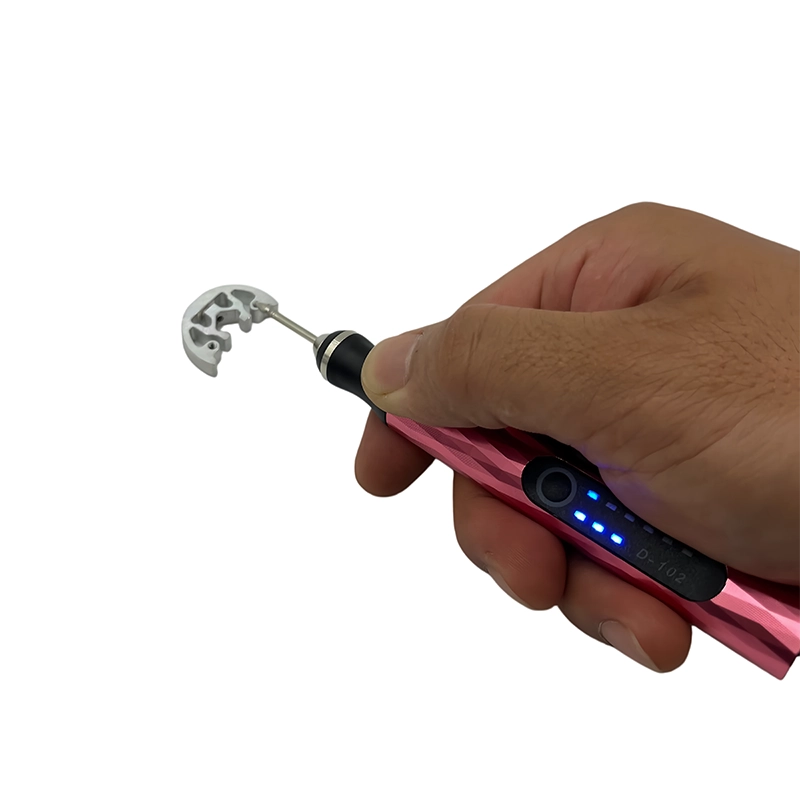
Quick Answer
An engraving pen sample test for metal stencil identification should use representative stencil blanks, the workshop's approved handling method and a defined mark format. Check accessory and collet fit before marking, then inspect legibility, edge condition, distortion and unintended surface damage. Record the material, coating, accessory, setup and result; do not extend one successful sample to other stencil materials or production uses without separate evidence.
Buyer Takeaways
- Use representative stencil material, coating and thickness in the sample.
- Define the identification mark and acceptance view before testing.
- Record the accessory, collet, handling method and visible result together.
- Reapprove the setup when the stencil or tool configuration changes.
Separate stencil identification from stencil cutting
This article addresses a short workshop ID on a metal stencil, not cutting the stencil pattern or qualifying an industrial traceability system. A handwritten code that reads clearly can still leave a raised edge, distorted sheet or damaged coating. For a stencil buyer, those defects can matter as much as the appearance of the mark because the item still needs to sit, clean and store as intended.
Before requesting a sample, name the ID purpose and where the mark may go. Exclude working apertures, alignment features and any area whose alteration is prohibited by the stencil specification. ToolQeen engraving models are sample candidates; no universal metal compatibility, mark depth or permanence is assumed.
What should a metal stencil sample define first?
Start with the exact identification need: a short asset code, orientation mark, size reference or another bounded workshop label. Name the stencil material, coating, thickness range, finished condition and area available for the mark. An engraving pen sample test for metal stencil identification is meaningful only when the blank resembles the item that will actually be handled.
Define work holding, eye protection, debris control and the workshop's operating instruction before the trial. Do not treat a readable mark on one offcut as evidence for every alloy, coating or stencil geometry. Production traceability, regulatory marking and safety-critical identification may also require their own controlled marking process.
Technical Explanation
Why the blank, accessory and mark format form one test
Legibility and surface response depend on the representative blank as well as the accessory and requested mark. Keeping those variables in one record makes later comparisons understandable without implying universal compatibility.
- Name the material and coating used in the trial.
- Link the accessory and collet to the sample row.
- Inspect both readability and unintended surface change.
Buyer Comparison
Metal-stencil marking acceptance record
| Check | Record before testing | Observe after marking | Hold the sample when |
|---|---|---|---|
| Code recognition | Actual code format and agreed viewing conditions | Independent transcription; ambiguous characters | The code is misread or needs guessing |
| Mark location | Permitted zone and excluded functional features | Position relative to apertures and alignment features | The mark crosses an excluded zone |
| Sheet function | Buyer’s normal seating and flatness check | Seating, distortion and raised edges | The stencil no longer meets the defined functional check |
| Surface condition | Material, coating and accepted appearance boundary | Coating lift, scratches and unintended damage | Damage exceeds the agreed boundary |
| Cleaning resistance, if required | Actual cleaning method and inspection plan | Readability and surface condition after the trial | The agreed post-cleaning requirement fails |
How should the accessory and collet be checked?
Inspect the proposed accessory and confirm that its shank matches the intended collet and seats securely under the tool instruction. Record the accessory identity, interface and sample task instead of relying on a generic accessory name. Begin on a representative scrap area or approved offcut using the workshop's controlled method.
Stop if the accessory fit is unstable, the operator cannot keep the pen under control, the blank moves, the surface reacts unexpectedly or the setup conflicts with the safety instruction. An accessory should enter the proposed kit because it supports a named sample task, not merely because it increases the advertised count.
Which visible results belong in the acceptance record?
Inspect whether the intended code is readable at the agreed viewing distance and whether the mark stays within its defined area. Note edge condition, burrs, coating lift, warping, unintended scratches and any change that could affect how the stencil seats or cleans. Photograph or retain the sample only when the buyer's own record-control policy permits it.
Compare candidates with the same mark format, representative blank and inspection points. The record should describe what was observed, not claim universal engraving depth, durability or material compatibility when those properties were not measured.
When should the marking setup be approved again?
Freeze the accepted pen, accessory, collet, sample blank, mark format, handling method and inspection points as one bounded configuration. If the buyer plans a packaged or private-label kit, also reconcile the labels, instructions, case positions and replacement reference with the tested items.
Repeat affected checks when the stencil material, coating, thickness, mark size, pen platform, accessory, collet, work-holding method or instruction changes. This keeps a simple identification task from drifting into an unsupported material or process claim over subsequent orders.
Test recognisability, cleaning and function separately
Use a short code containing characters the workshop is likely to confuse, such as 0 and O, 1 and I, or 5 and S. This is a suggested test design, not a claimed result. Have a second person transcribe the code under the agreed viewing conditions without being told the intended text. Record misread characters and the inspection conditions rather than calling the mark “clear” without explanation.
Then check the marked item against its normal function. Does it still seat as required? Is there a raised edge or distortion? Did the operation disturb the coating beyond the agreed mark zone? If cleaning resistance matters, the buyer should define a separate trial using the actual approved cleaning method and inspect afterwards. A freshly readable mark alone says nothing about later cleaning resistance.
Where the requirement is machine-readable identification, uniform lettering or repeatable production depth, request a different marking-process evaluation. Do not turn a freehand pen trial into evidence for those requirements. Dremel’s engraving guide illustrates why material, accessory choice and surface geometry matter; its accessory recommendations apply to its own system and do not establish cross-brand fit.
Sources and scope
Dremel: A Beginner’s Guide to Engraving https://www.dremel.com/us/en/projects/project-plans/how-to-engrave-a-beginners-guide General background on material, accessory and surface selection, plus tool instructions and work holding. Dremel accessory fit and settings cannot be transferred to ToolQeen products without evidence.
Practical tool
Metal-stencil sample test record
Use one record per material and configuration. The blank fields are buyer-defined requirements, not ToolQeen test results.
Record ID / date / evaluator: [reference]
Stencil material, coating, thickness and revision: [identity]
Pen / accessory / shank / collet references: [configuration]
Approved operating instruction / work holding: [references]
Permitted mark zone and excluded features: [scope]
Required code, character size and viewing conditions: [requirements]
Baseline seating / surface condition: [observation]
Independent transcription after marking: [observation]
Burrs, distortion, coating lift and stray marks: [observation]
Functional seating check: [result]
Cleaning method / post-cleaning result, if required: [record]
Outcome: [pass / hold / rejected, with reason]
Accepted scope / changes requiring retest: [limits]
Frequently Asked Questions
Frequently Asked Questions
Can one engraving pen sample represent every metal stencil?
No. Material, coating, thickness, geometry and mark requirements can differ, so use representative blanks and a bounded scope.
What mark should buyers use in the sample test?
Use the actual code format, size and location needed by the workshop, or a documented representative mark with the same acceptance criteria.
How should accessory fit be checked before marking?
Confirm the shank and collet match, seat the accessory under the tool instruction and stop if the interface is unstable or cannot be controlled.
What should stop the stencil-marking trial?
Stop for unstable work holding, loss of tool control, unexpected surface response, coating damage outside the acceptance limit or a safety-instruction conflict.
Does a readable code prove long-term mark durability?
No. A visual sample confirms only the recorded observation; durability needs its own defined method and evidence.
When must the engraving setup be tested again?
Repeat affected checks after changes to the stencil, coating, mark, pen, accessory, collet, holding method, instructions or packed configuration.
Final Buyer Recommendation
Approve the engraving setup only for the recorded stencil blank, mark format and accessory configuration, then control any later change.
Related Products
Related Products
D-102 Cordless Electric Engraving Pen
Cordless pen-style rotary tool for engraving, polishing, grinding and detail work.
View product ↗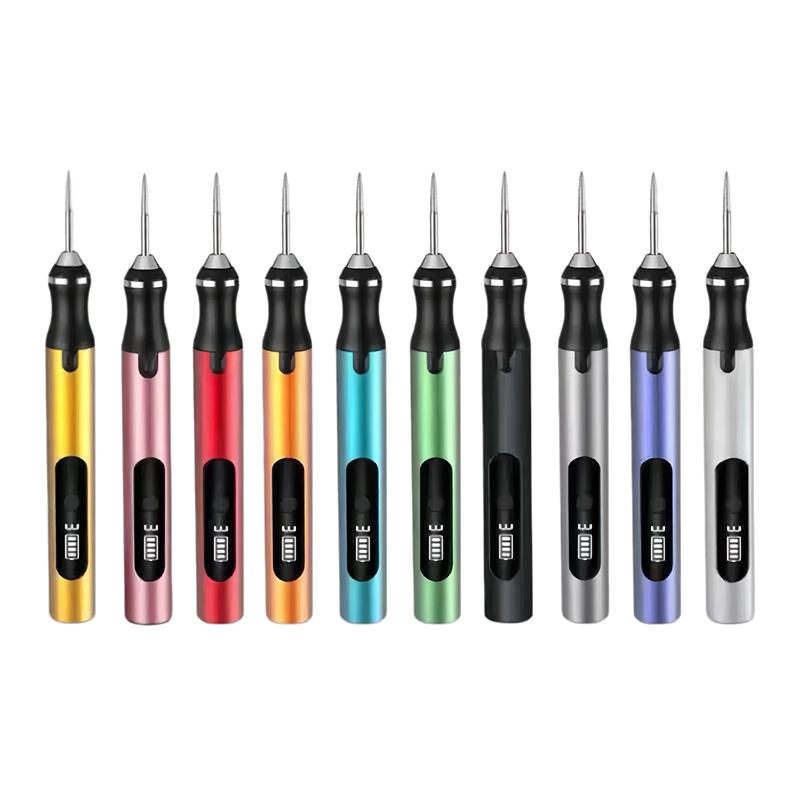
104 USB Rechargeable Engraving Pen
Cordless pen-style rotary tool for engraving, polishing, grinding and detail work.
View product ↗