
Rotary Tool and 3D Print Finishing
3D Printed Paint Stencil Cleanup: Protect the Apertures
Plan 3D printed paint stencil cleanup around aperture shape, bridge webs and seating. Test local rotary work on a spare before approving the painted pattern.
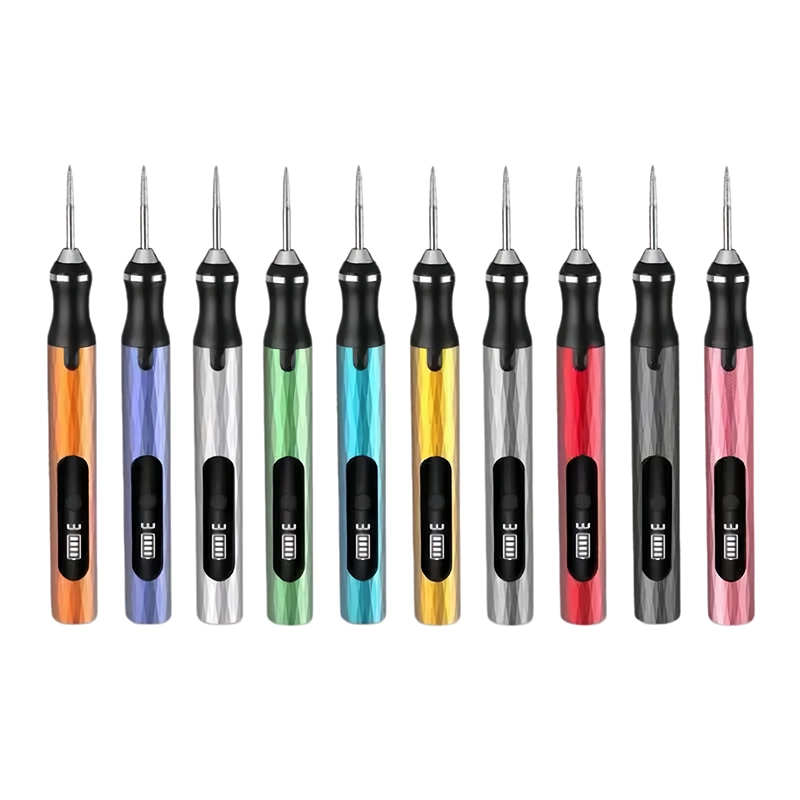
Quick Answer
3D printed paint stencil cleanup should remove an unwanted local protrusion without widening the aperture, weakening a connecting web or changing the seating face. A rotary pen may be evaluated on a robust accessible edge, but thin webs and sharp pattern corners usually need a gentler method. Inspect the stencil geometry first, then test the actual painting setup on a spare surface. A smooth edge alone does not establish the intended painted pattern.
Buyer Takeaways
- Keep aperture cleanup separate from intentional pattern changes.
- Protect connecting webs and the surface that seats against the work.
- Do not assign paint bleeding to a burr without checking the setup.
- Accept the actual pattern under the intended painting conditions.
Scope 3D printed paint stencil cleanup by the pattern it must preserve
Identify the stencil revision, intended pattern and surface on which it will be used. Mark the aperture boundary, connecting webs, seating face and handling region. These areas have different roles: an opening defines the pattern, a web retains an island, and the seating face helps establish the relationship to the workpiece. An unwanted protrusion must be classified against that map before it is removed.
Prusa documents 3D-printed stencils and paint shields for airbrushing. That is evidence for the application context, not evidence that a ToolQeen pen has finished one or that a particular stencil will produce a sharp pattern. The local cleanup method below is a proposed workshop evaluation.
Keep a reference image or drawing of the intended aperture. Record the material and the original defect. If the opening is incorrect in the printed geometry, refer it to the design owner instead of quietly enlarging it during cleanup.
Use local rotary work only where the aperture has a robust edge
A small raised artifact at an accessible, supported boundary may justify a sample test. Verify the actual tool, accessory interface and instructions, then support a spare stencil without bending it. Check the contact approach with power off and define the region that can be touched. A rotating contact should not be allowed to cross a corner simply because it removes material quickly.
Inspect after a limited pass with the tool stopped. Compare the opening width, corner shape and nearby surface with the original reference. A cleaned aperture that has become wider is a design change, not an automatically improved stencil. Stop for softening, deformation, uncontrolled contact or an unstable part.
For thin connecting webs, compare a fine hand method or no intervention. Do not use a pen to chase a visual mark where the contact footprint is larger than the robust working region. Retain the web as a protected feature rather than treating it as surplus print material.
Buyer Comparison
Keep stencil functions separate during cleanup
| Region | Inspection question | Decision boundary |
|---|---|---|
| Aperture | Has the intended perimeter changed? | No unapproved widening |
| Connecting web | Is the island still supported as designed? | Avoid unnecessary powered contact |
| Seating face | Does it match the intended placement? | Do not redesign an offset mask |
| Painted pattern | Does the real setup meet the reference? | Inspect the whole application |
| Cleaning and reuse | Are the materials and instructions appropriate? | Separate durability qualification |
Inspect the seating face before blaming an edge for pattern defects
Look at how the stencil is positioned in the intended setup. Check for an unwanted protrusion, contamination, distortion or another condition that prevents the required seating relationship. The choice of flat or intentionally offset placement belongs to the stencil’s use method. Do not flatten an intentionally shaped mask because it does not lie against a bench.
An illustrative spare mask might appear to have a rough aperture and also rock on a raised remnant underneath. Record these as separate defects. Correcting the aperture alone cannot establish that the positioning problem is solved. This example describes diagnostic questions, not an observed paint result.
Keep any cleanup of the seating face bounded. Check the finished shape against the actual target surface and support conditions. If a stencil has warped, another design or print-process decision may be needed; extensive grinding is not a guaranteed correction.
Approve pattern transfer using the real painting method
After geometry inspection and required cleaning, test the stencil on an approved spare surface with the intended paint, application method, placement and fixing arrangement. Record those conditions so a change in the painted result can be interpreted. Do not transfer operating parameters from a different paint or application system.
Compare the observed pattern against the agreed appearance reference. Keep unwanted edge effects, missing islands and positioning problems distinct. If the result is unacceptable, determine whether the cause is stencil geometry, seating, paint application or another condition before removing more material. The tool operation is only one step in the system.
A paint test does not establish material resistance to cleaning chemicals or unlimited reuse. Follow the actual material and paint-system instructions, and evaluate any proposed repeated cleaning separately. This article makes no durability, solvent-compatibility or sharp-edge performance claim.
Specify a stencil-workshop sample with meaningful exclusions
Send the supplier an identified stencil, the robust edge task and the features that must not be touched. Ask for the actual pen, working-item reference, mounting interface and instructions. Include a delicate web as an exclusion example so the kit does not imply that every pattern feature is a powered-tool task.
For an OEM assortment, connect each included item to a defined operation and list replacement abrasives separately. Keep instruction artwork aligned with the actual evaluated stencil geometry. Confirm sample contents, package inclusions, destination requirements, quantity and quotation basis with the supplier.
Retain geometry inspection and the painting result as separate acceptance records. Changes to pattern design, material, accessory or paint setup should trigger review of the affected evidence. Do not advertise a time saving or painting-quality improvement from an unmeasured tool sample.
Sources and application boundaries
Prusa: 3D-printed airbrushing stencils https://blog.prusa3d.com/airbrushing-tricks-with-3d-printed-stencils_136901/ Stencil and paint-shield application context, not powered cleanup instructions or ToolQeen results.
ToolQeen Quality evidence path https://www.toolqeen.com/quality Exact configuration, method and approval traceability; not an application-specific test.
Frequently Asked Questions
Frequently Asked Questions
Can a rotary pen make a stencil pattern sharper?
That outcome needs evidence from the actual geometry and painting setup. The pen may address a named local defect; it does not independently establish pattern quality.
Is an enlarged aperture acceptable if the edge looks cleaner?
Only if the design owner approves the changed pattern. Cosmetic smoothness does not authorize changing the opening.
Should thin stencil webs be held next to a rotating point?
Use the tool instructions and a safe support plan. If the web cannot be supported and kept outside unwanted contact, choose another method rather than forcing access.
What should be recorded when paint creeps under the mask?
Record placement, fixing, target surface, paint method and the actual stencil condition. Investigate the setup before attributing the result to an edge burr.
Does a paint test qualify the stencil for solvent cleaning?
No. Cleaning compatibility needs the actual material and chemical instructions and any required separate evaluation.
Final Buyer Recommendation