
Rotary Tool and 3D Print Finishing
3D Printed Silicone Mold Master Finishing: Local Cleanup
Plan 3D printed silicone mold master finishing around local defects, protected contours and mold-contact surfaces. Define sample evidence before buying tools.
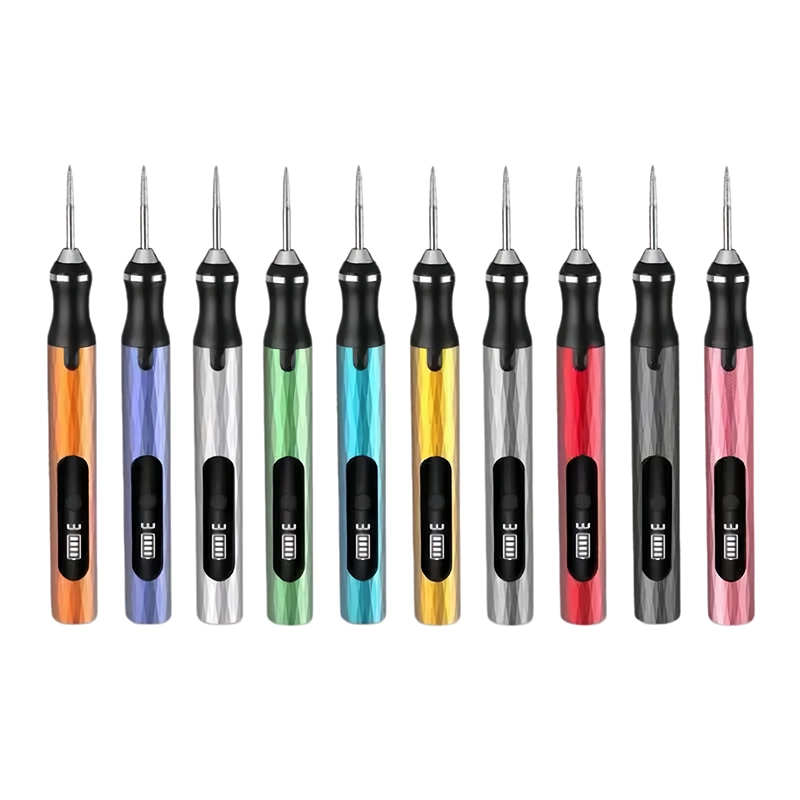
Quick Answer
3D printed silicone mold master finishing should remove defined local defects while protecting the intended master shape. A rotary pen may be evaluated for an accessible raised witness or awkward recess; broad surfaces, sharp design edges and delicate relief often need another method. Approve the contact surface and the material preparation separately. A smooth-looking master does not establish compatibility with a silicone system or prove that a cast part will meet its requirements.
Buyer Takeaways
- Distinguish the surface that becomes the mold cavity from handling and locating surfaces.
- Treat an unwanted bump differently from missing material.
- Separate mechanical finishing from silicone compatibility and preparation.
- Evaluate a complete master-to-mold sample before claiming a production result.
Map 3D printed silicone mold master finishing by surface role
Identify the master revision and the surfaces that will contact the molding material. Mark decorative relief, intentional corners, parting boundaries, locating features and areas that will later be trimmed or remain out of contact. An unwanted support witness on a visible contour is different from an irregularity on a handling extension. The map defines which features justify finishing and which should be left alone.
Formlabs documents silicone molding with printed masters in its product-design white paper. That reference establishes the workflow context; it does not approve a ToolQeen pen, a particular abrasive or the chemistry of the buyer’s silicone system. Use the master designer’s required shape and the material suppliers’ preparation instructions as separate controlling references.
Photograph the original defect before cleanup. Keep a drawing, untouched spare or other agreed contour reference available. The operator should know the permitted working area and stop condition before a mounted accessory approaches a valuable master.
Use the pen for a raised witness only when the contour remains visible
An accessible raised mark on a robust region is a reasonable candidate for a controlled sample exercise. Verify the tool and accessory instructions, mounting interface and permitted operation first. Support the master without loading delicate relief, and test an equivalent spare feature before working on the actual master. Inspect with the tool stopped after each limited pass.
An illustrative master might have an unwanted witness beside a curved decorative face. The acceptance question is whether the witness can be reduced without flattening the curve or widening the worked patch. Retain a side view of the contour as well as the usual top view. This describes a proposed evaluation, not a successful ToolQeen trial.
A depression needs another decision because an abrasive cannot replace missing material. Ask the master owner whether a compatible repair process or a reprint is appropriate. Removing the entire surrounding surface to disguise a pit can change the master that the mold is meant to reproduce.
Buyer Comparison
Separate the master preparation decisions
| Feature or decision | Candidate action | Evidence to retain |
|---|---|---|
| Raised witness | Evaluate bounded cleanup | Original and finished contour |
| Depression | Repair or reprint decision | Master-owner disposition |
| Fine relief | Controlled hand method or no removal | Detail reference |
| Parting boundary | Preserve specified geometry | Drawing and inspection |
| Silicone compatibility | Material-system validation | Supplier instructions and downstream sample |
Protect relief, parting boundaries and broad contact faces
A small rotating contact can reach a recess but can also remove adjacent detail. Check the access path with the tool off. If reaching the defect requires working blindly behind a thin feature, select a more controlled method or redesign the preparation step. Visibility is part of the method, not a convenience to be ignored.
For a broad face, compare a supported hand abrasive or another approved finishing process. Inspect under consistent light and against the intended appearance reference. Do not chase every visible line when doing so would round a deliberate corner, change a locating edge or remove a fine relief feature.
A parting boundary deserves its own acceptance check. Record what the drawing requires and how the molding team will evaluate it. Cosmetic approval elsewhere does not authorize altering that boundary. If a proposed method touches multiple surface roles, split it into separately reviewable operations.
Do not confuse mechanical finish with material compatibility
Resin preparation, coating, mold release and silicone selection remain material-system questions. Follow the applicable suppliers’ instructions; do not infer chemical compatibility from a clean surface or from the fact that another workshop used a similarly named resin. Abrasive cleanup is not a cure schedule or a chemical treatment.
Keep dust removal and any approved downstream preparation identifiable in the record. The master must enter the next process in its required state. An unrecorded coating or repair can make a later molding result difficult to interpret even when the pen operation itself appeared acceptable.
Inspect the downstream sample under the molding team’s criteria before making a suitability claim. Record the master, silicone system, preparation method and observed surface result. This article supplies no cure-compatibility result, dimensional transfer tolerance, mold lifetime or ToolQeen application test.
Request a sample configuration that matches the master task
Send the tool supplier the permitted cleanup zones, material identity, feature photographs and the required result. Request the actual tool reference, accessory identification, mounting interface and instructions. Do not substitute an assortment count for a task-specific working-item list.
For a private-label master-preparation kit, distinguish cleanup items from consumables and chemicals supplied under another process. Confirm packed contents, replacement references, instructions, packaging and quotation inclusions. Keep quantity, price, delivery and market-document questions open until the supplier confirms the actual configuration.
Approve the kit only for the named mechanical operations that were evaluated. Keep the master-to-mold decision with the molding owner. These two approvals can use the same sample record, but they answer different questions.
Sources and application boundaries
Formlabs: Silicone Molding for Product Design https://formlabs-media.formlabs.com/rs/060-UIG-504/images/WP-EN-Silicone-Molding-For-Product-Design.pdf Printed-master silicone-molding workflow context, not ToolQeen compatibility or results.
ToolQeen Quality evidence path https://www.toolqeen.com/quality Exact configuration, method and approval traceability; not an application-specific test.
Frequently Asked Questions
Frequently Asked Questions
Does a polished master prove silicone compatibility?
No. Mechanical appearance and material-system compatibility require separate evidence. Use the resin, coating and silicone suppliers’ instructions for the actual preparation.
Should intentional texture be removed before molding?
Only if the master specification calls for that change. Identify intended texture separately from unwanted print artifacts before any cleanup.
Can a locating feature be treated as cosmetic?
No. Its acceptance belongs to the master assembly or molding setup. Inspect the specified relationship instead of judging it solely by appearance.
What if a master repair is introduced after tool approval?
Identify the repair material and preparation, then review the affected mechanical and downstream molding checks. The earlier sample does not automatically cover the change.
What should an OEM kit label promise?
Only the defined evaluated mechanical tasks and limitations. Avoid promising universal resin suitability, silicone cure compatibility or mold life from a tool sample.
Final Buyer Recommendation